

Although we recommend that customers use the Web to upgrade or reload their firmware, they can also use the SD card to upgrade the Antminer E3 firmware.
Important note: The SD card upgrade method is applicable to E3. Don't try to copy this method on other miners, because it will damage the miners.
Items to be prepared:
(1) A micro SD card. The recommended capacity is 4 GB or 8 GB. It is not recommended to use larger-capacity micro-SD cards because they are prone to errors.
(2) A PC with Windows XP or later operating system and a supported card reader.
(3) Antminer E3 firmware. Please download the firmware here >
Select the firmware E3-SD-20180806-pool.zip as shown below:
 Steps:
1. Remove the control board from the miner.
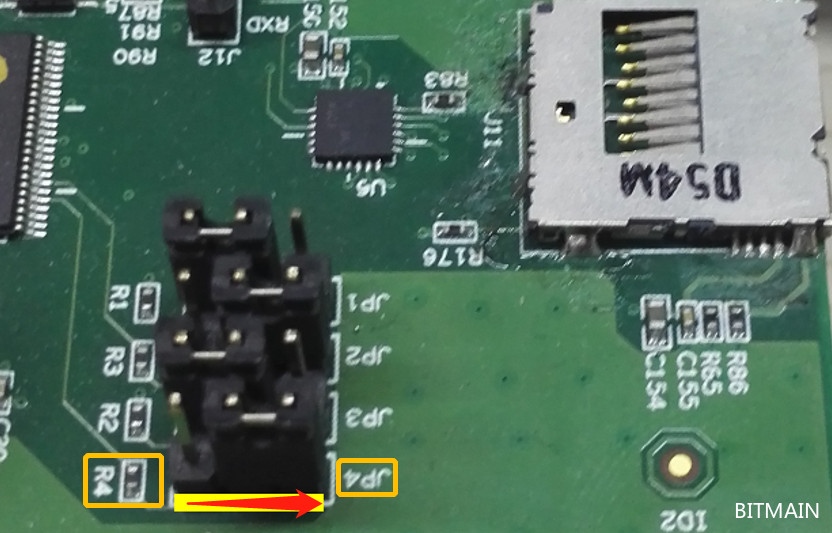
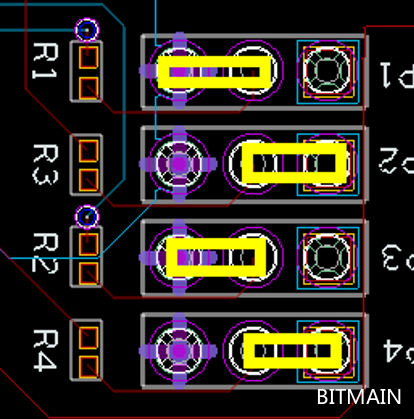
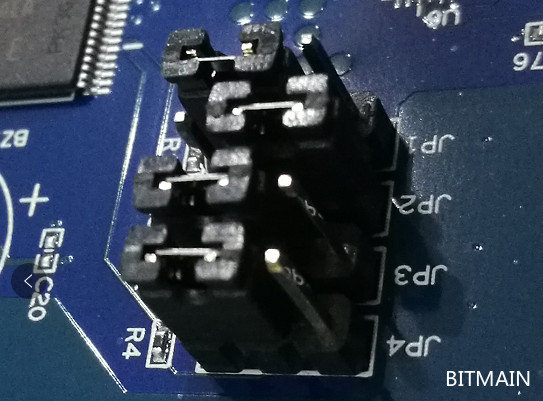
2. Move the JP4 jumper on the control board to the right, as shown in the figure below:


3. Insert the micro-SD card into the PC and format it as FAT32.
4. Unzip the downloaded firmware and copy the contents to the micro-SD card.
5. Remove the card from the PC, and insert the micro-SD card into the SD card slot on the control board.
6. Use the power supply to power up the control board. Do not put the control board back into the miner or connect any hash board to the control board. Allow at least 90 seconds for the file to load automatically. When loading, the red and green indicator lights on the control panel will flash.
7. Power off the control board and move the JP4 jumper (left) back to its original position. Remove the micro SD card.

8. Put the control board back into the miner and run the miner as usual.
If it still doesn't work (the miner cannot be turned on because the firmware is not correctly loaded on the control board) or you realize that the firmware is still an old version, please try a few more times.
Dear Customers,
Hello, April 4, 5 and 6, 2025 (GMT+8) are the traditional Chinese festivals - Qingming Festival. Our company will suspend shipments during these 3 days and resume shipments on April 7 (GMT+8). We are deeply sorry for the inconvenience. Thank you for your understanding and support.
Best wishes,
ZEUS MINING CO., LTD