


There are 63 BM1387B chips on the Antminer S9 hash board, and the chips are very prone to failure during the long-term operation of the miner. So how to replace the chip quickly and accurately?
The steps to correctly replace the damaged chip are as follows:
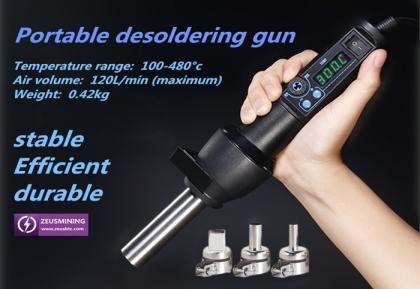
1. Preheat the desoldering gun to the appropriate temperature as required;
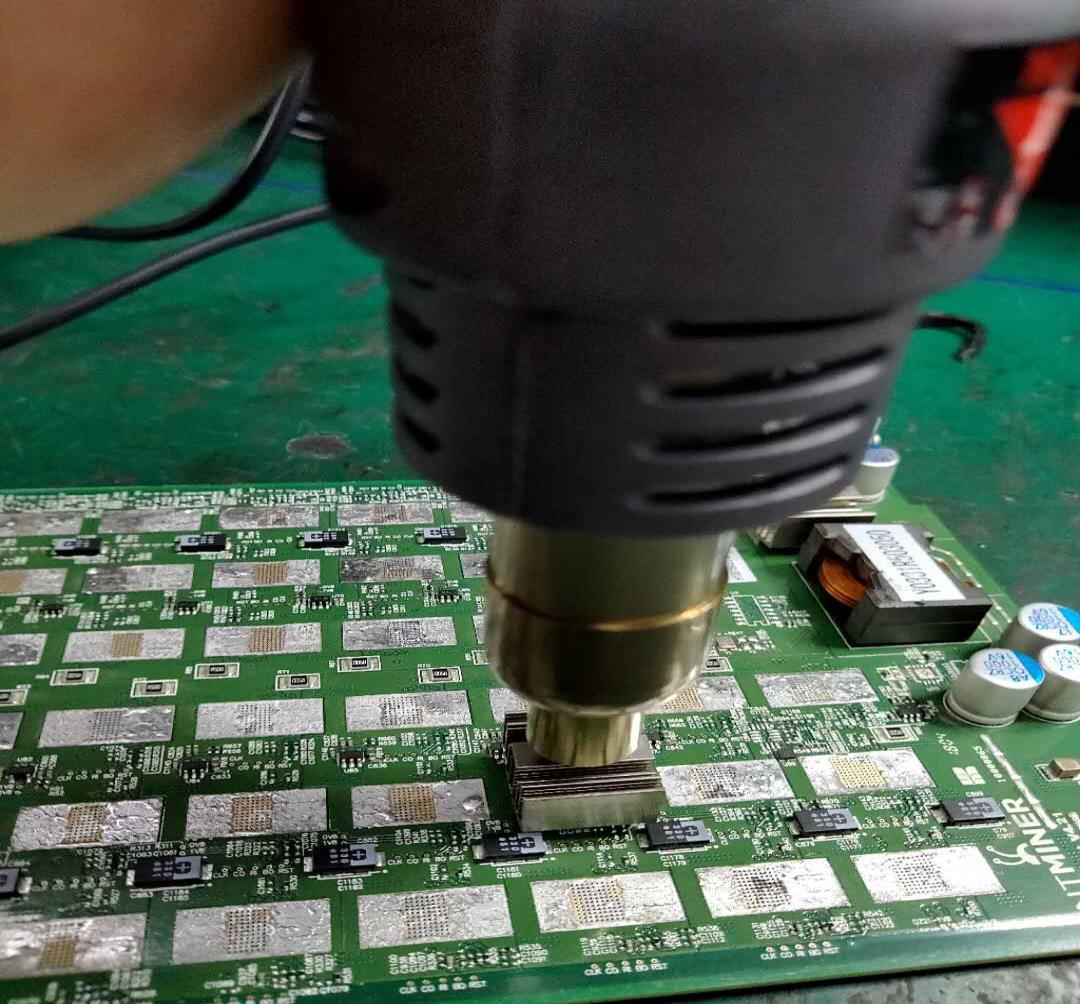
2. First, take the small heat sink on the reverse side of the hash board, place the air outlet of the desoldering gun vertically 6 mm away from the heat sink, heat it for about 12 seconds, and gently remove the heat sink;
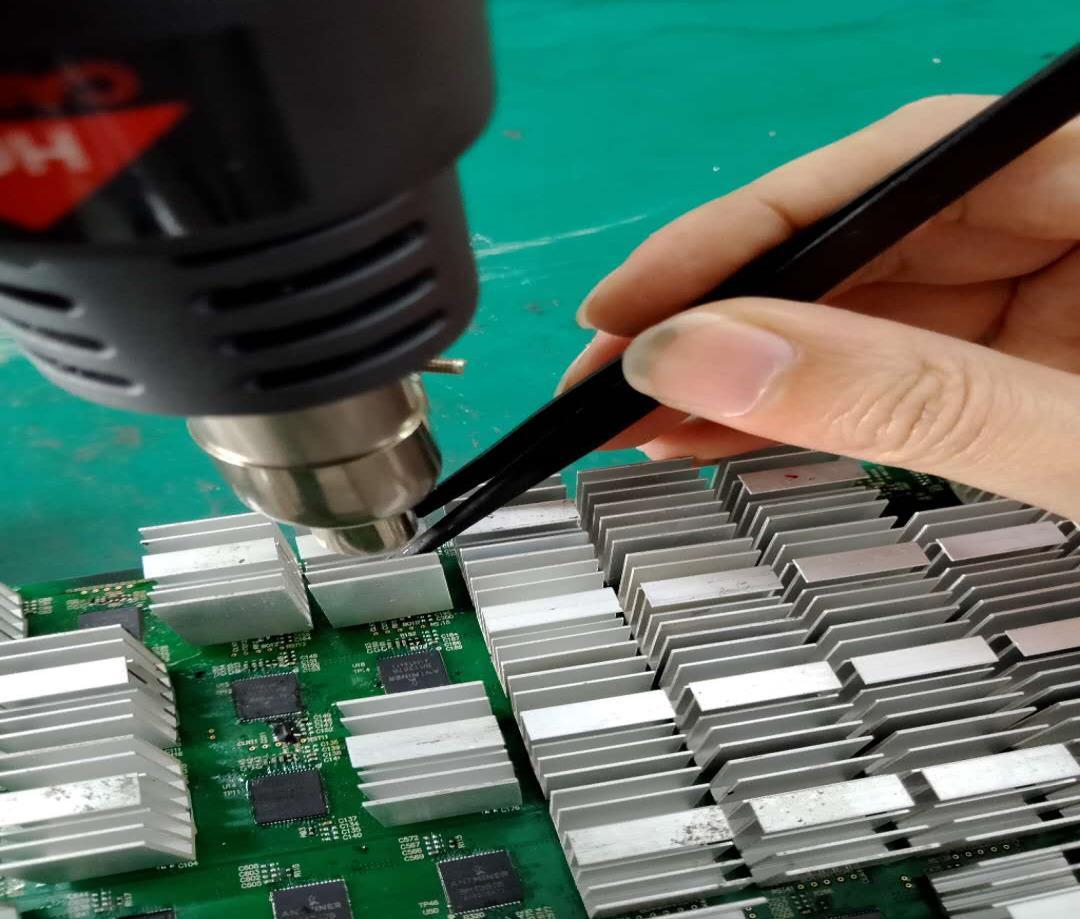
3. Then take the heat sink on the front of the hash board, the air outlet is 6mm away from the heat sink, heat it for about 10 seconds, use tweezers to remove the heat sink by oblique force;
4. Apply a little flux solder paste on both sides of the chip pins;
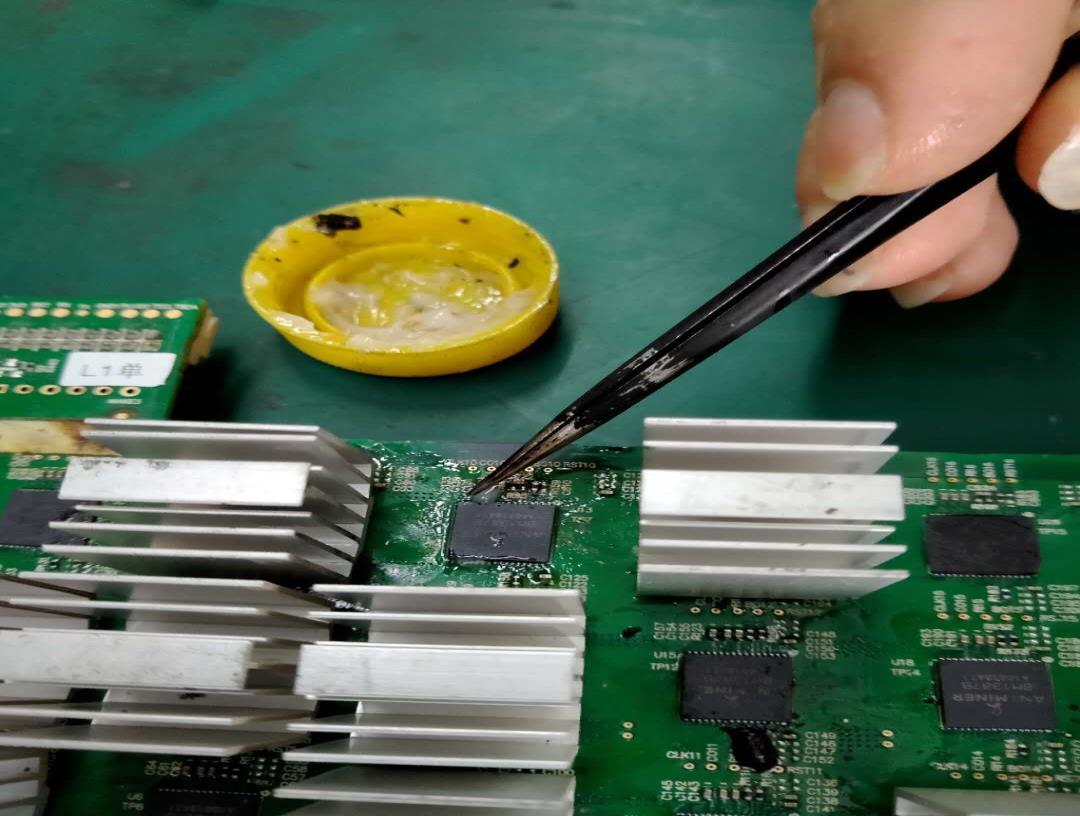
5. Use a tin scraper to remove the Antminer thermosetting adhesive and foreign matter on the pin pads;
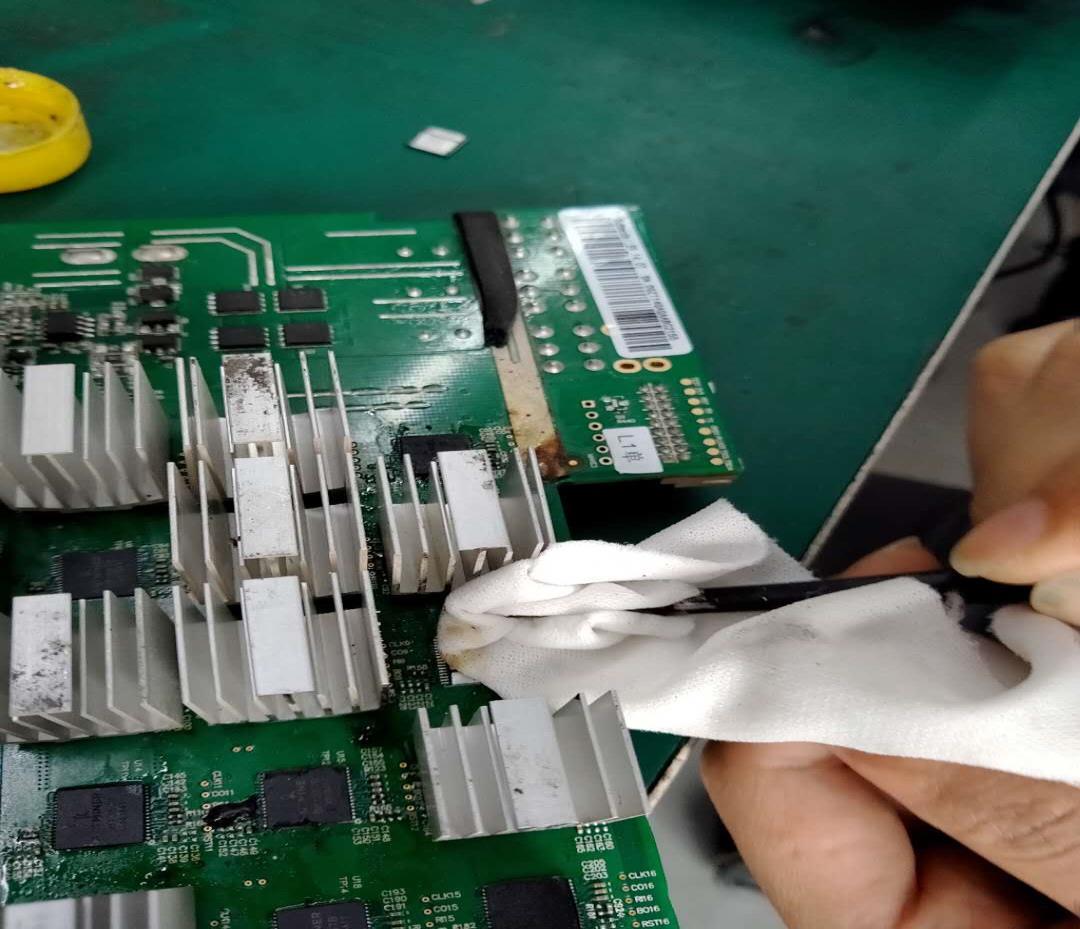
6. Preheat the PCB board for 3 seconds with the desoldering gun;
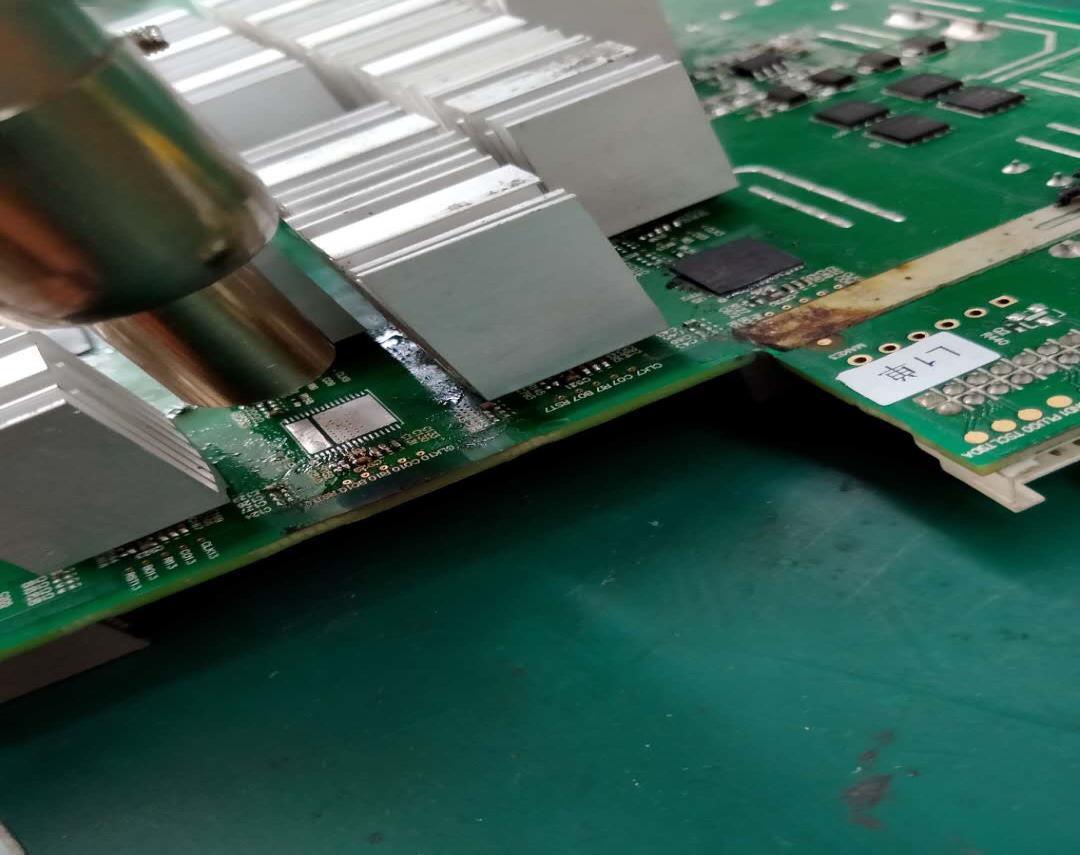
7. Use a desoldering gun to preheat the chip for 0.5 seconds, and then apply flux;
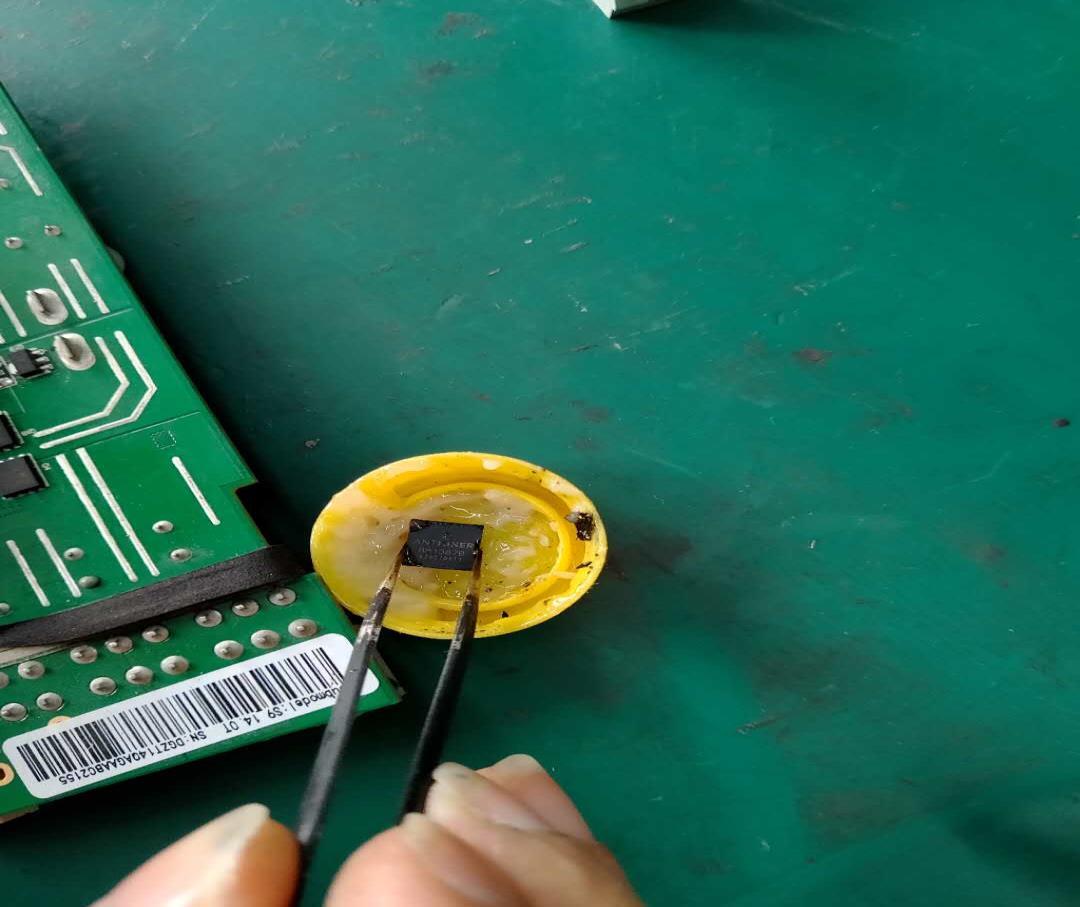
8. Position the chip on the PCB board;
Positioning standard: Do not expose the top and bottom of the chip, and the left and right pins are evenly exposed;
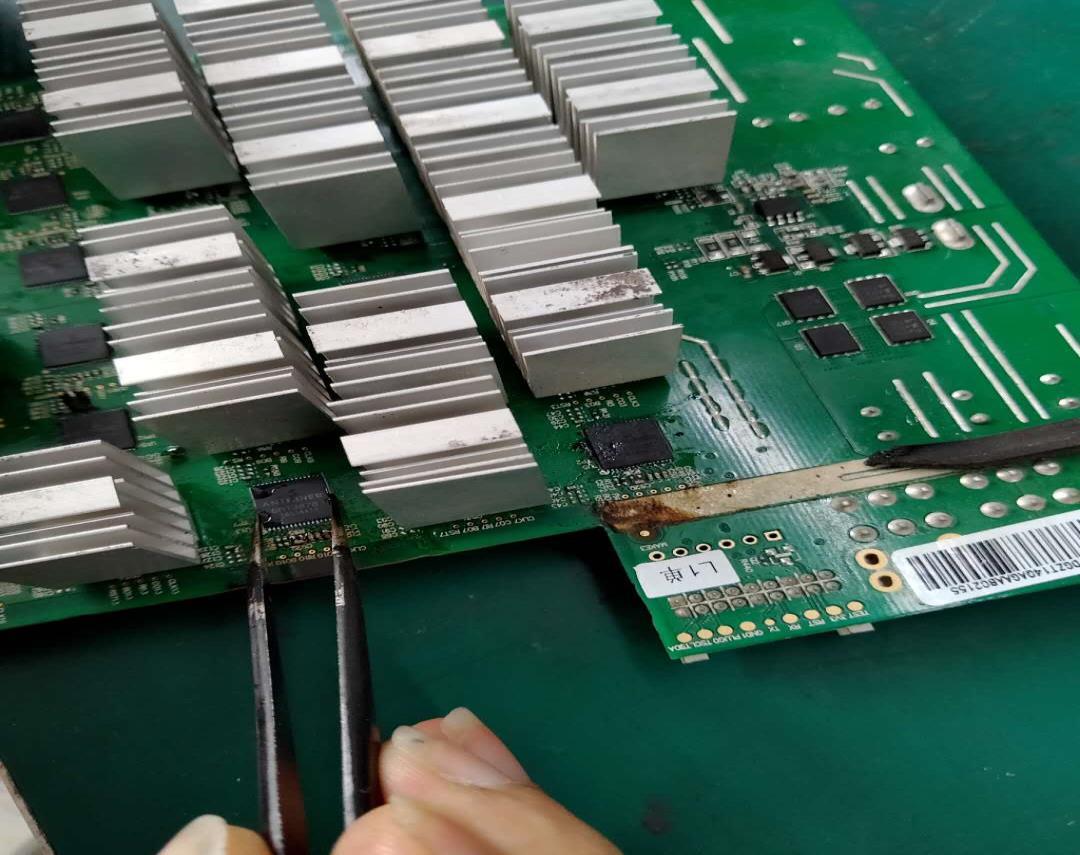
9. Use desoldering gun to heat the chip vertically for about 20 seconds;
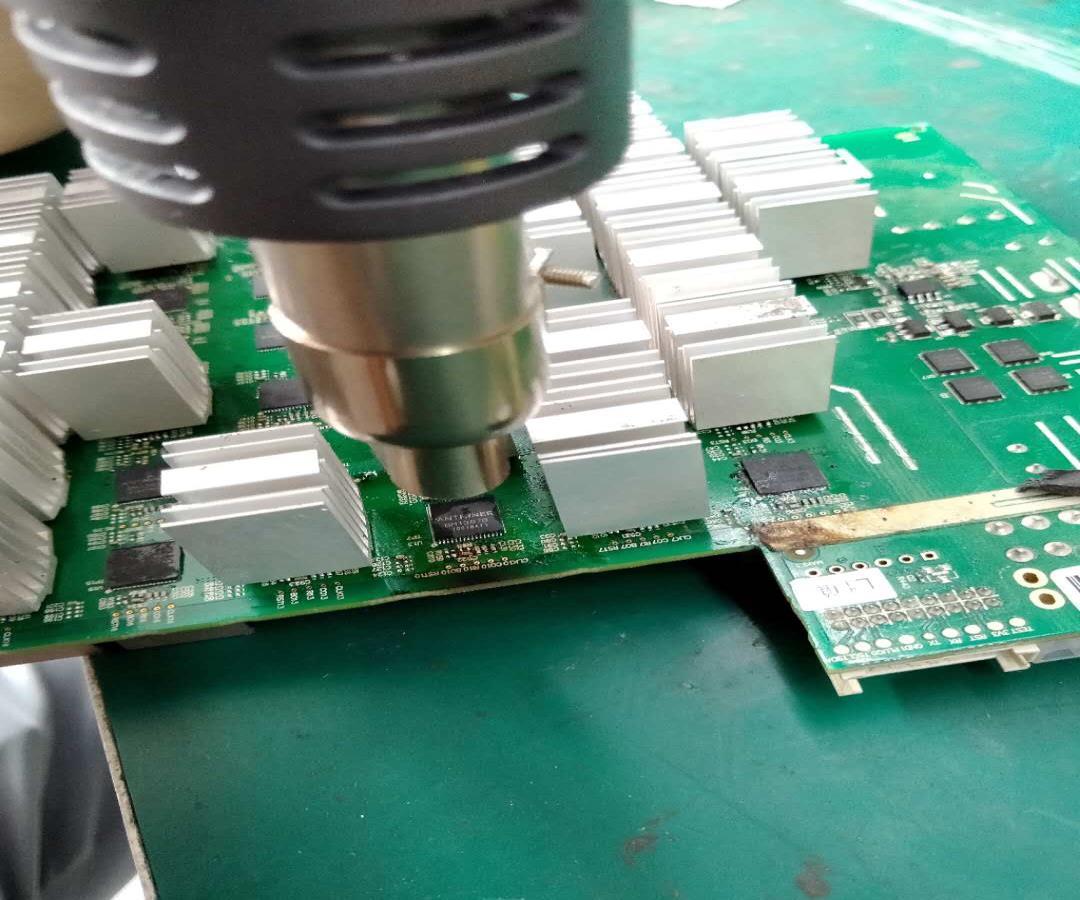
10. After the tin is melted (the pad is glowing), gently press the chip with tweezers to make the chip and the PCB board completely fit;
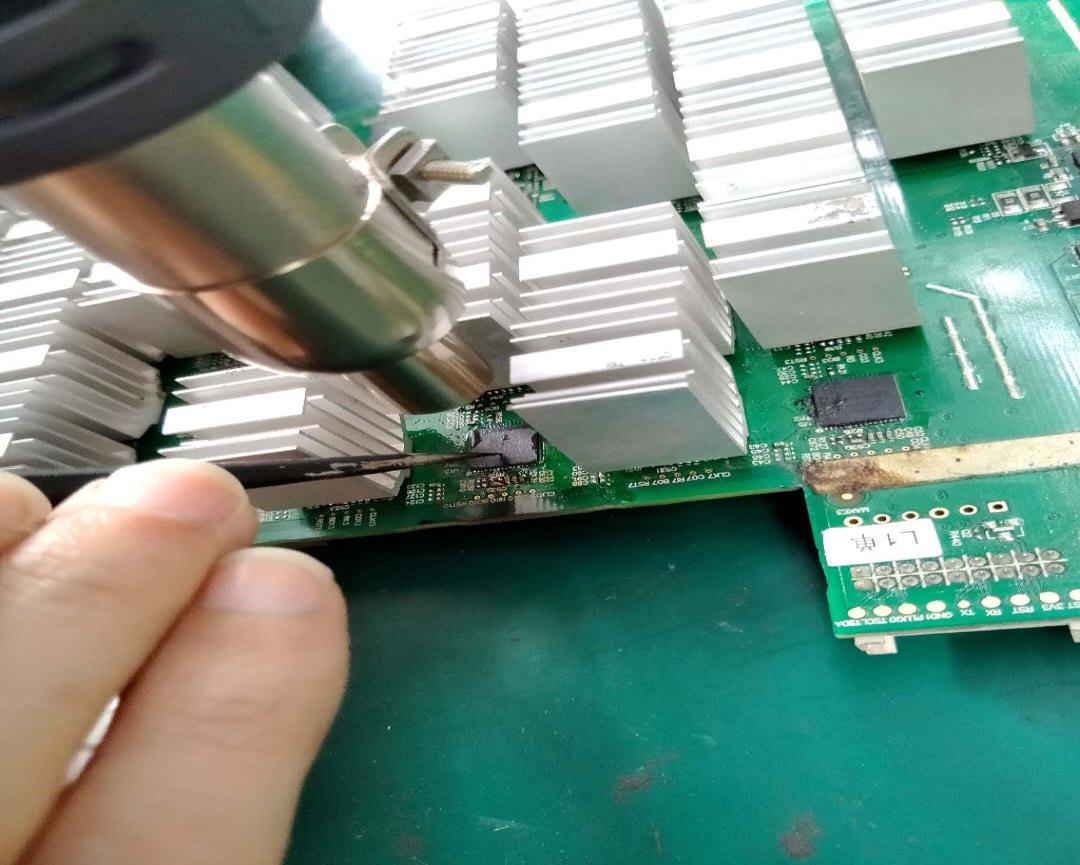
11. Complete the welding as shown below:
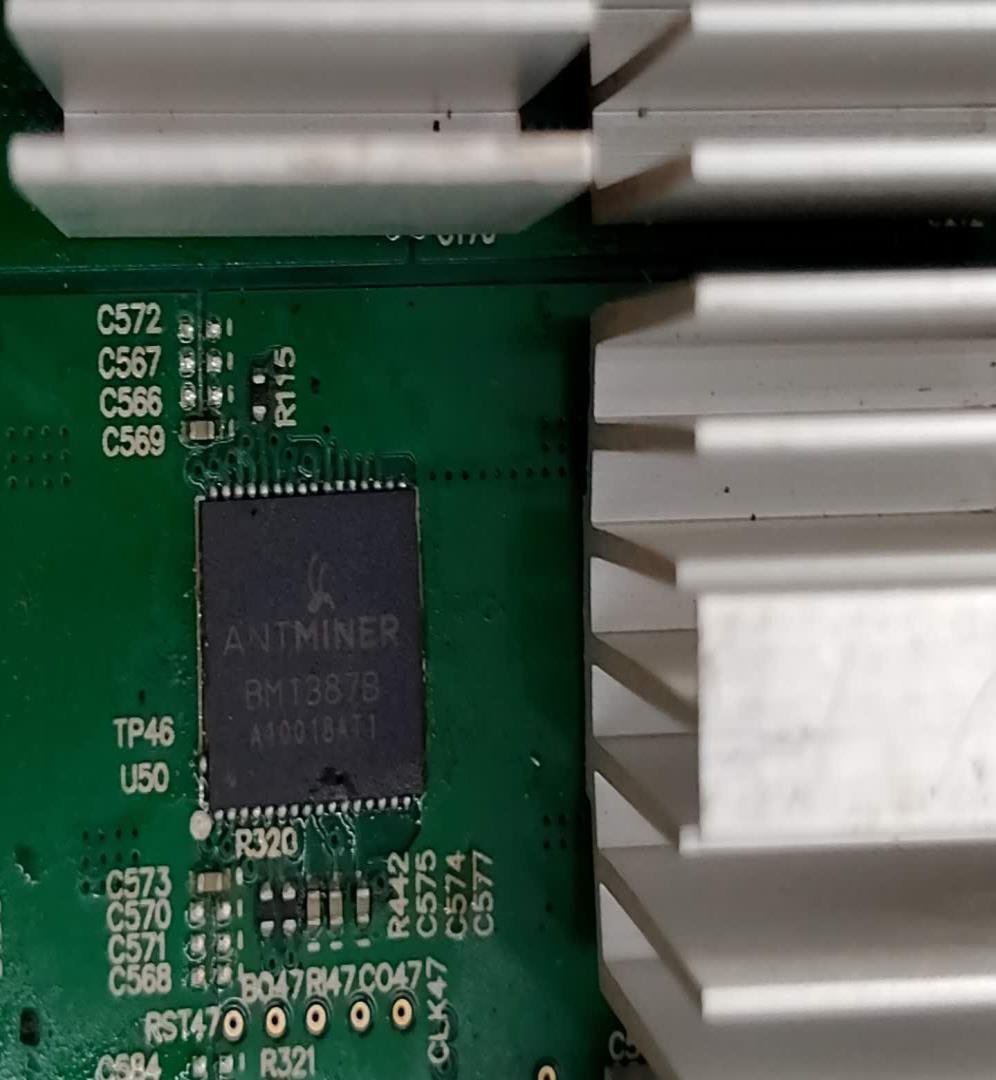
Notice:
1) Hash board repair and disassemble the chip, first take the small heat sink, and then take the big heat sink.
2) Remove the Antminer thermosetting adhesive on the back of the chip and the both sides of the chip. The Antminer thermosetting adhesive on the pin pads does not need to be removed with a spatula.
3) Apply a small amount of flux to both sides of the chip pins. The temperature of the air gun is 450-480 degrees, and the handle of the heat gun is perpendicular to 90 degrees. Heat until the chip pin pads are bright and shiny. Use tweezers to turn the chip over and remove it.
4) Remove the Antminer thermosetting adhesive and stolen goods around the pad, pay attention to the damage of the surrounding small materials and pins, and the material drop.
5) Remove the Antminer thermosetting adhesive around the chip, and tin the chip with Antminer ASIC BM1387 Tin Tool. When blowing the solder paste, the heat gun is 10mm away from the chip, otherwise it will not reach the saturation state when it melts.
6) Use a cotton swab or bamboo stick and tweezers to apply a small amount of flux to the pin pads. Use tweezers to place the chip in a standard position. Use a hot air gun to heat and blow until the tin is bright and shiny. Use tweezers to gently squeeze the middle of the chip until it reaches saturation state, the excess tin dross squeezed out is cleaned up with a tin scraper to achieve a state of no short circuit and no tin connection.
7) Finally, use a Fluke 15b+ multimeter to measure each signal point, the resistance value is normal, the voltage is normal, and the board is operating normally. How to reinstall the chip to the Hash board? Heat the small heat sink until the tin melts before attaching the chip; then use a small fan to cool it, and then apply vinyl to the back of the chip evenly, then heat the big heat sink and paste it.