


Trouble 1: For miners with low hash rate
First, confirm whether the power supply is regular, use the fluke 15b+ multimeter to measure, if it is normal, eliminate the power supply problem.
Troubleshooting steps:
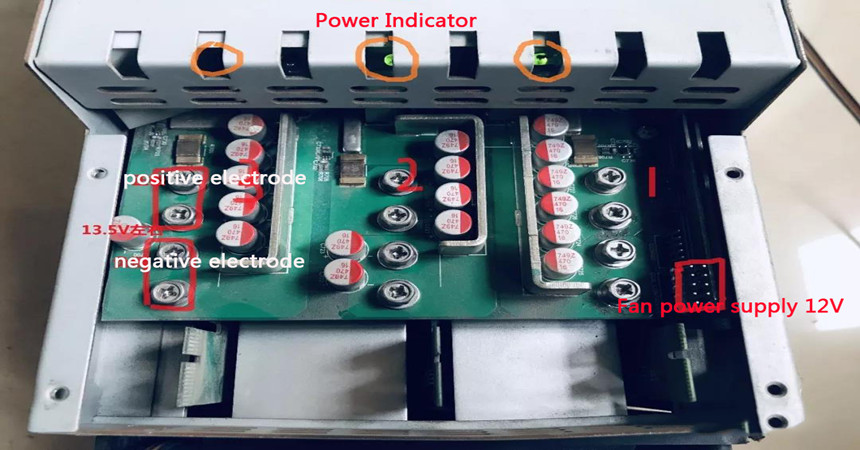
1. Power on and check to determine whether the power output three channels are standard and whether the indicator light is on. As shown below.
2. If the power supply is standard, there is no hash rate or single block hash rate, and there is no hash rate after 10 minutes of refreshing, remove the control board and wipe the golden fingers of the hash board, then reinstall or replace the excellent control board.
3. If there is still no hash rate, consider replacing the hash board to clean up the dust.
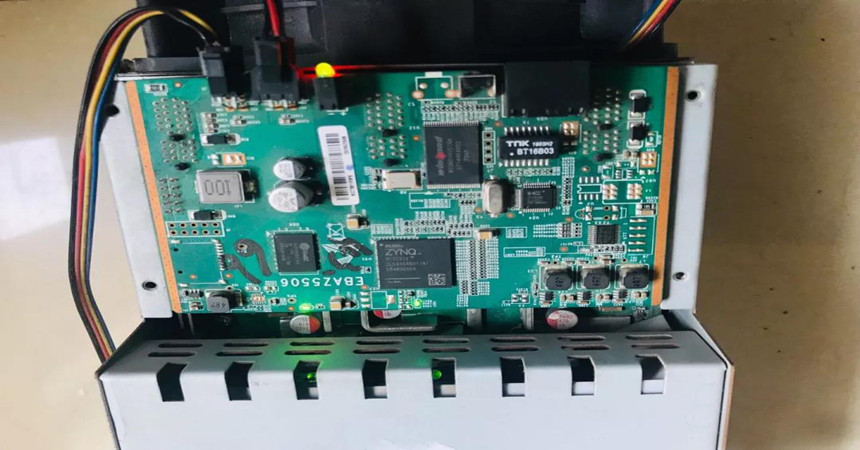
4. If the hashrate is insufficient after startup, wait for about 15 minutes before the hashrate is stable and refresh. If it is still insufficient, replace the hash board or perform tooling repairs.
5. Refresh multiple times, 3~5 times, it is expected, the processing is over; Otherwise, follow the operation as follows.
6. If the refresh is invalid and the hash rate is still low, the network management will restart; typically, the processing ends. Otherwise, proceed as follows.
7. If the network management restart is invalid, remove the control board, remove the dust from the gold fingers on the Hash board, and reinstall and power on. If it is expected, the processing ends. Otherwise, proceed as follows.
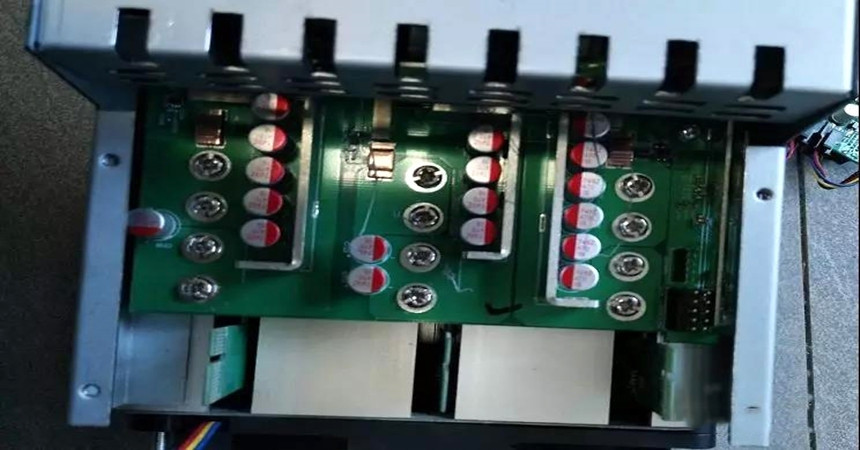
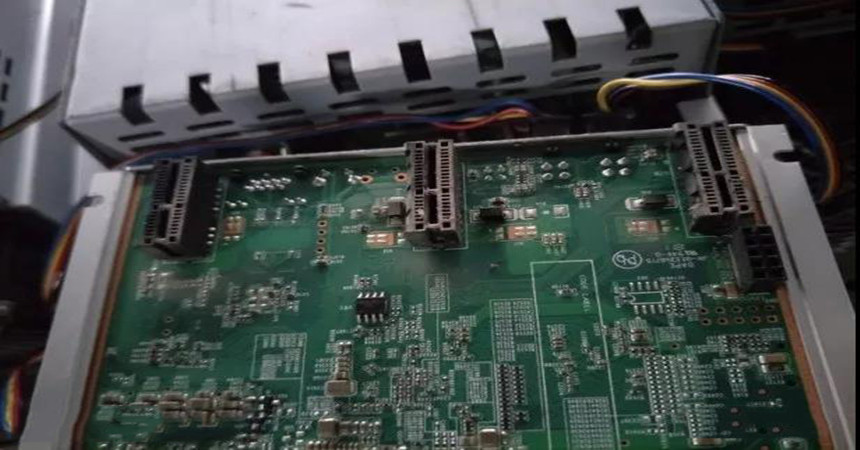
8. It is invalid to clear the dust on the gold finger on the hash board; you can confirm the replacement of the hash board according to the screenshot below [multiple units can be used together], it is expected, the processing is over, otherwise, proceed as follows.
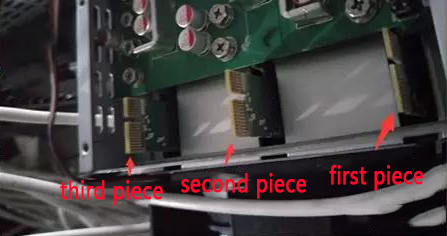
9. If the hash board is invalid after replacement, replace the power supply. If it is expected, the processing ends. Otherwise, proceed as follows.
10. If the power supply is invalid after replacement, replace the control board. If it is expected, the processing ends. Otherwise, proceed as follows.
11. After the control board is replaced, if it is expected, the processing ends. Otherwise, it just needs to repair.
Trouble 2: For devices with average hash and abnormal fan speed, there are hidden dangers:
Troubleshooting steps:
1. Use the network management software to sort the fan speed, and select the device with a fan speed of 0 or less than 3000
2. Equipment management-light up the indicator.
3. You can use the laser tachometer to find the miner whose fan is 0 or less than 3000, remove and replace the fan.
4. A device with a single fan of 0 will reduce the frequency due to excessive temperature, affecting the hash rate and unnecessary losses.
Trouble 3: Hash board troubleshooting for potential leakage hazards
If the hash board voltage alarm is 1, it means electric leakage. You need to cut off the power to check whether there is any copper leakage on each hash board. If copper leakage is found, you can paste it with high-temperature tape or use a paint pen to deal with it. Leakage should focus on checking the position of the sub-board and the position of the screw. If the copper leakage is still not found, remove the silicone grease from the immense heat sink to check whether the back of the hash board is leaking.
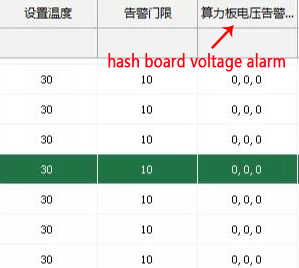
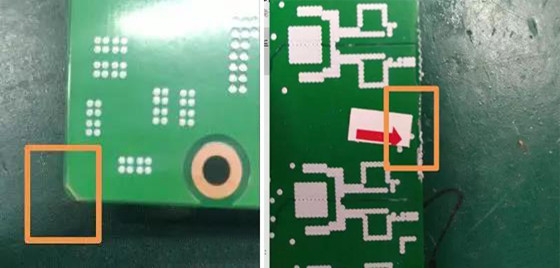
Note: Before powering on, check whether the connection is correct and whether the screws of the power supply and the hash board are tightened.
1) Pay attention to the correct polarity of polar components, such as diodes, capacitors, etc.
2) Whether the solder joints have de-soldering, burrs, or virtual soldering
3) Whether the device is flat and in place
4) The plug must be in place and securely
You must wear an anti-static wrist strap during operation and pay attention to safety.
Hit the radiator screws. The electric bit must meet the screw specifications.
The screws must be tightened (the spring pads can be flattened), and there should be no slippage, cross grooves, and deformation.
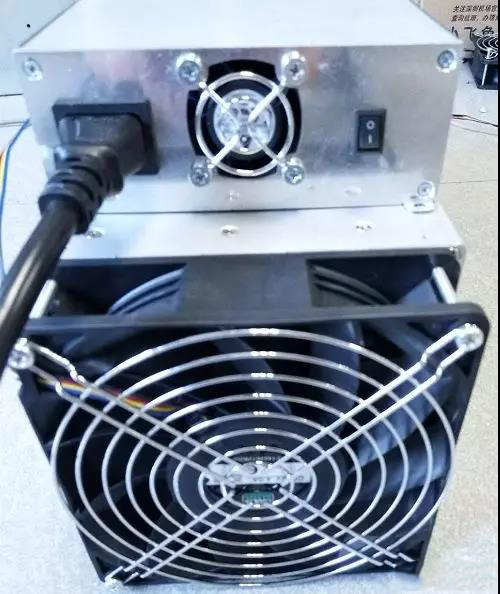
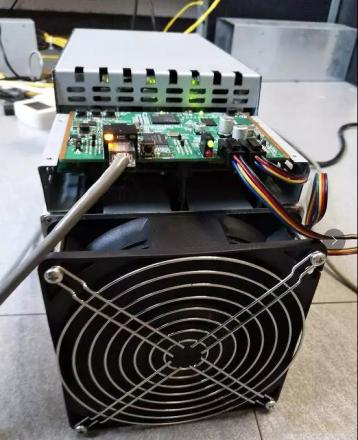
Troubleshooting steps:
1. First rule out: Whether the input and output of the power supply is standard, pull out the control board, and use a multimeter to measure the power of each channel at about 13.8V under normal circumstances. Check whether the control board is in good contact with the golden fingers of the three hash boards, whether the thermal grease is applied correctly, whether the radiator screws are tight, and so on.
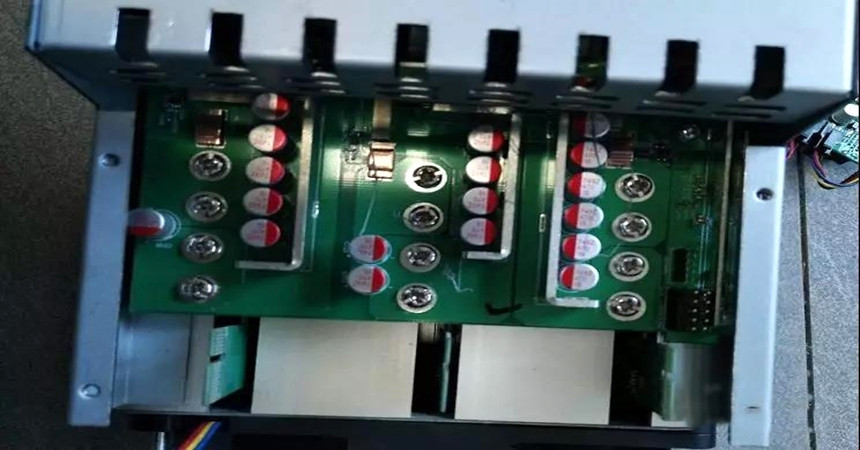
2. The network is disconnected. When the network fails and can be eliminated within half an hour, the miner does not need to be powered off and shut down. However, if the network fails and can't be eliminated in a short time, please power off the miner in time, especially when the network connection is unstable, and the miner is frequently connected to the mining pool, which may cause crashes or other failures. The power consumption of the miner does not decrease when the network is disconnected. Please pay attention to this point. Connect to the network through a standard RJ45 interface, without WIFI function.
3. Scan the chip ID to confirm whether all 70 chips have been scanned, and the PLL of each chip can be locked.
Scanning method: run FPGA test program
Possible wrong printing conditions:
a) board0 chip one id not found
Testing failed -----------
This indicates that the chip ID is not found. Confirm Chip1 Voltage 0.8V, 1.8V, (LDO pin 5), (as shown in the figure below)
b) Chip1 pll unlock, stop loading!
Testing failed -----------
This indicates that the chip PLL is not locked. Confirm that the two capacitor voltages on Chip1 are 0.8V and 1.8V (as shown in the figure below)
c) fre100 board 0 chip 1 total core 10
Testing failed -----------
This indicates that the number of chip cores is abnormal. First, consider short circuits and false soldering on pins 12 and 2 of the chip. In addition, determine whether the 1.8V and 0.8V voltages are too small or too large (LDO 5 pins), (as follows As shown in the figure), adjust the voltage to normal, otherwise change the chip to deal with.
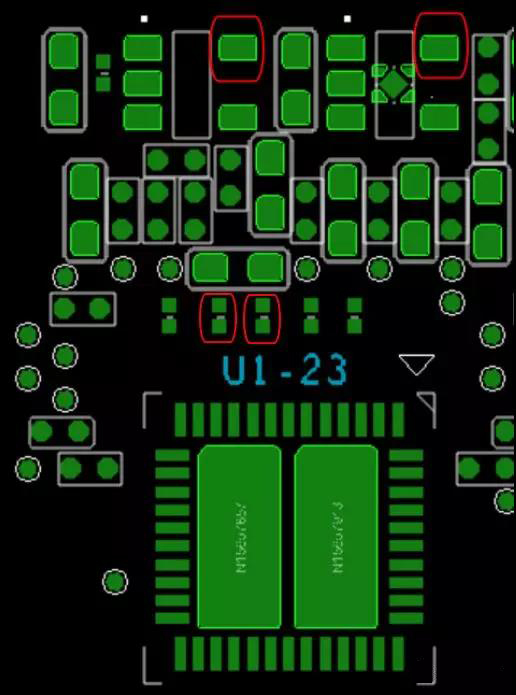
4. When the scan chip ID cannot reach 70, remove the two small heat sinks and measure whether the core voltage, 0.8V, 1.8V power supply of the front and rear groups of the chip currently scanned are normal (generally, the core voltage is faulty );
1) Nuclear voltage measurement, the normal range of nuclear voltage is 0.375~0.55, confirm whether there is a high or low nuclear voltage or even no nuclear voltage is measured, first start the measurement from the currently scanned chip, and then measure the nuclear voltage of other chips; If 0.8V, 1.8V voltage is abnormal, it is necessary to consider whether the SOT23-5 and SOT-23 packaged devices are damaged. Furthermore, suppose the measured voltage has a short circuit or open circuit. In that case, it is necessary to consider whether the PCBA is deformed, the solder joint is broken, and whether the capacitor is damaged.
2) Adjustment of the high nuclear voltage: the nuclear voltage adjustment resistor (currently a 1-ohm resistor) is reduced, or a 1~3 ohm resistor (1206/1210 package) is added;
3) Adjustment for low nuclear voltage: Adjust the nuclear voltage adjustment resistor (currently a 1-ohm resistor) to increase (1206/1210 package);
4) The nuclear voltage has not been measured to solve the problem: directly replace the two chips of the circuit. In addition, you must wear an electrostatic wristband (for axample the Anti static wrist strap) during operation and pay attention to safety.
5) For equipment equipped with heat sinks, it is necessary to consider whether foreign objects on the heat sink or the heat sink have protrusions, which may cause damage to the miner.
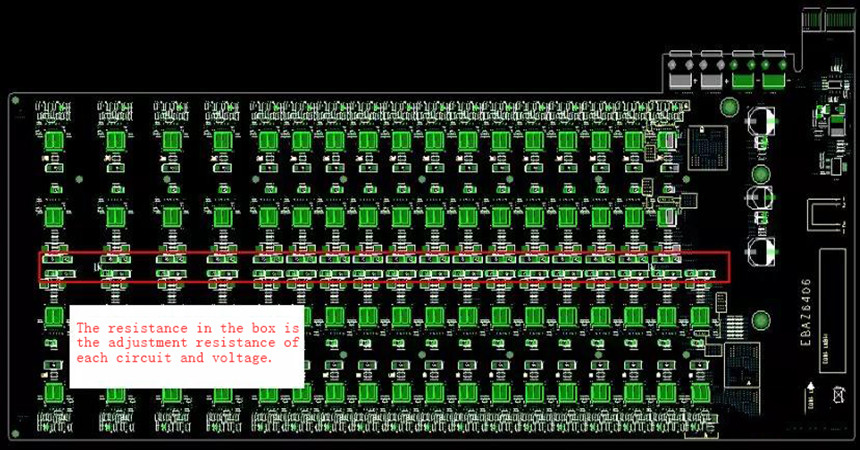
6. After the above adjustments, the board processing still has no effect: replace the chip.
1) Replace the chip a when the next level data of a cannot be measured
2) Replace the a+1 chip when the data returned to a from a+1 cannot be measured
3) If there is no test condition, directly replace the a and a+1 chips
4) Use an oscilloscope to measure the chip. Assuming that chip a is currently scanned, measure a and send a+1 data, and measure a+1 to return the data of a
7. A summary of other possible situations that 70 chips can scan:
1) Whether the power consumption can be increased (single board with fan, about 680M--710W.)
2) Whether the hash rate meets the standard.
3) After running for some time, the power goes up and then falls again.
4) After power-on, test that the voltage of each group is standard, and it is no problem to scan the chip. If the voltage of some groups is higher or lower when running above 200M.
Suggest:
1. Check the network cable, gateway, or router settings to ensure that the network is working correctly.
2. Make sure that the cable is inserted right when getting on and off the shelf, the pins should not be crooked, and the voltage regulating cable should not be missed.
3. Regularly inspect and troubleshoot basic faults and solve them, and accumulate maintenance experience.
4. The miner restarts continuously or the hash rate is unstable and fluctuates. You can ping (pingIP -t) the miner IP to check any packet loss.
5. When upgrading the version of the network management gadget, the win10 system needs to close the firewall, otherwise, the upgrade will not be possible.
Dear Customers,
Hello, April 4, 5 and 6, 2025 (GMT+8) are the traditional Chinese festivals - Qingming Festival. Our company will suspend shipments during these 3 days and resume shipments on April 7 (GMT+8). We are deeply sorry for the inconvenience. Thank you for your understanding and support.
Best wishes,
ZEUS MINING CO., LTD