


I. Preparation tools
1. Hardware: computer, TF card reader, Micro USB OTG cable, TF card, or OTG U disk with Micro USB interface;
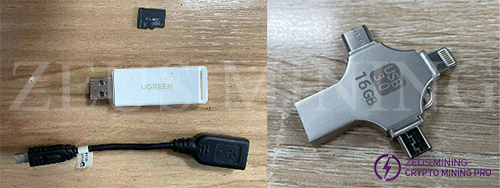
2. Software: decompression tool (WINRAR recommended), S19j Pro A113D card to brush firmware;

3. Firmware download address: Bitmain official website.
II. Make TF card
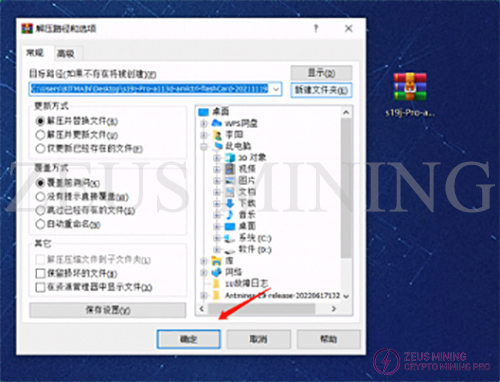
1. Unzip the downloaded firmware, right-click the firmware, and select the unzip file.

2. After selecting the decompressed file, a new dialog box will pop up; just click OK.
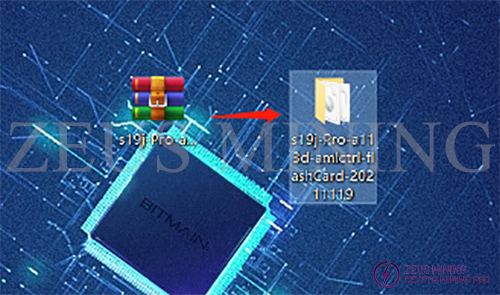
3. After the decompression is completed, a folder with the same name as the compressed package will appear, and the decompressed folder will be ready for use.
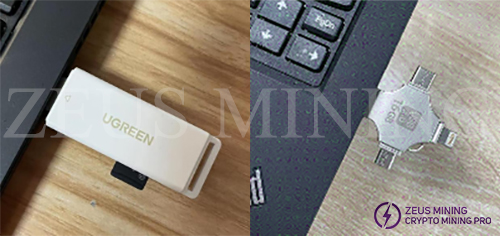
4. Insert the memory card into the card reader, and insert the card reader (or U disk with Micro USB interface) into the computer's USB port.
5. After inserting, the computer will prompt the new device, display the disk letter corresponding to this TF card (the drive letter of this device is E), and record the drive letter.

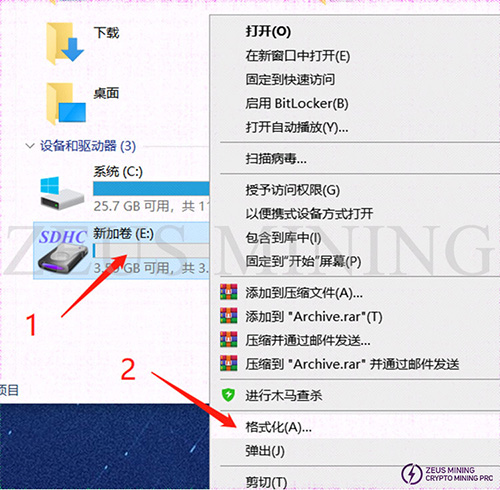
6. Format the inserted memory card into FAT32 Format, find the disk corresponding to the TF card (the drive letter E just recorded, namely the E disk), right-click on the E disk, and click Format.
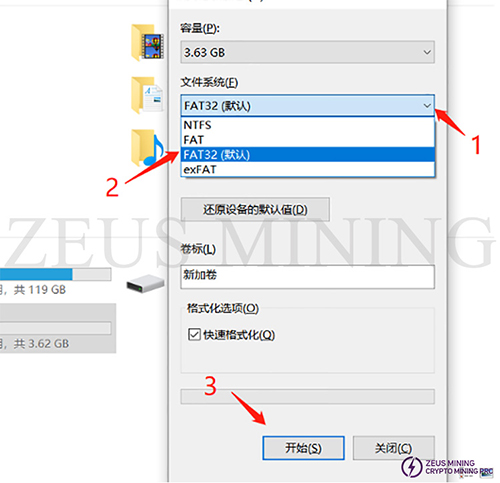
7. After clicking Format, a new dialog box will pop up, as shown in the figure below. In the new dialog box, click the drop-down menu behind the file system and select FAT32 (the default is FAT32). After selecting, click Start to prepare for formatting.
8. Before formatting starts, a dialog box will pop up asking whether to confirm to delete all data. After confirmation, all data will be deleted. If there is important data, you need to back up the data first. If there is no important data, click Confirm.

9. Generally, after clicking the format confirmation, there is no response for more than 2 seconds, and the progress bar will end after a while. In the end, you will be prompted that the formatting is complete; just confirm it directly.

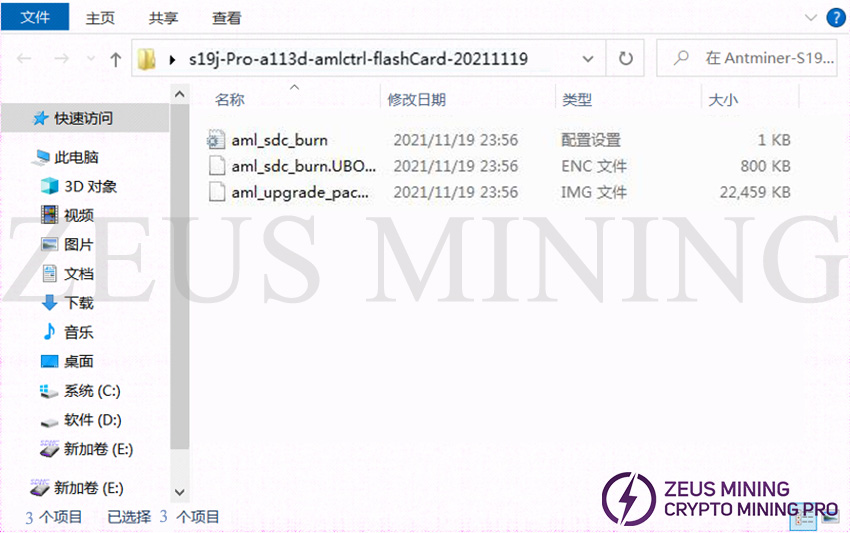
10. At this point, the preparation of the TF card has been completed, open the decompressed folder, select all and copy all the files in the folder. The inside of the decompressed file is as follows:
11. Copy the files to the root directory of the TF card.

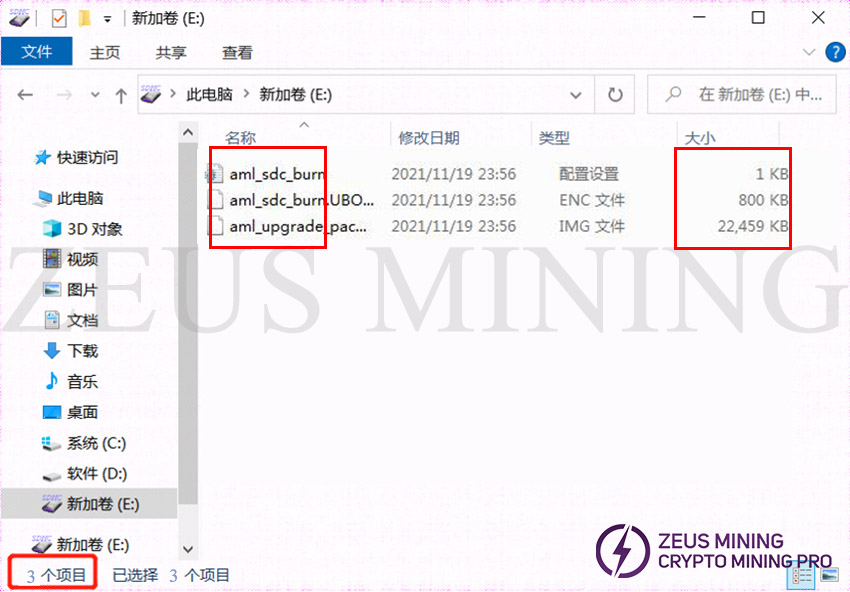
12. After copying, confirm whether the content of the TF card is as follows, mainly confirming the file name, file size, and the number of files.
13. After confirming the correct content, the TF card is completed. You can unplug the TF card from the computer for use now.
III. Brush
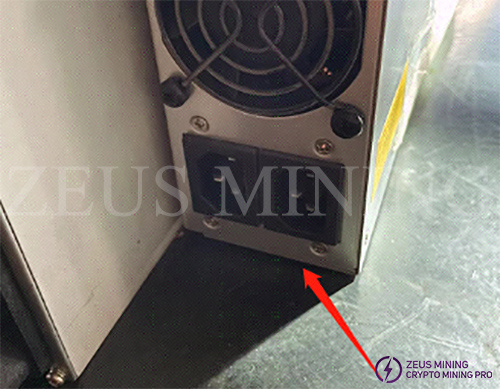
1. Power off the miner (or separate control board) and unplug all power sources.
2. Insert the card reader into the OTG cable, and insert the OTG cable (or directly insert the OTG U disk) into the Micro USB port on the front of the miner.
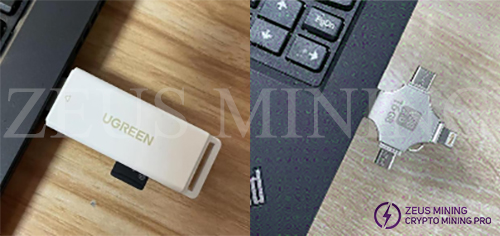
3. Power on the miner (control board) and plug in all power cables.

4. After the power is turned on, the status of the indicator lights is: the two lights of the network port are always on, the two lights of the indicator lights are off, and the green light is always on for about 5 seconds.
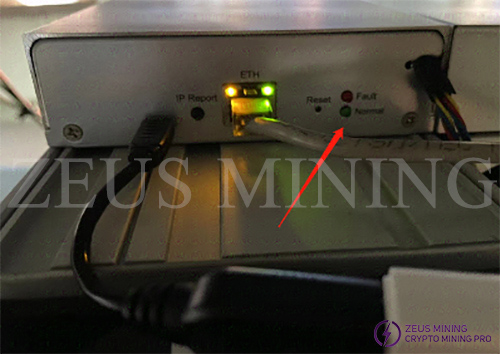
5. The card flashing is completed, and the green light is always on.
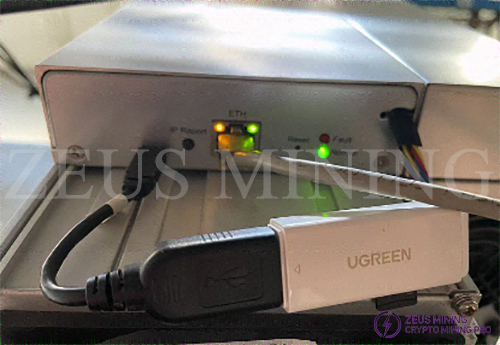
6. When the green light is always on, the card flashing is over. At this time, you can power off and unplug the OTG cable or U disk.
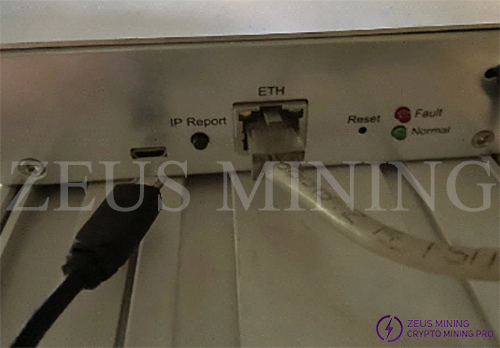
7. Pull out the OTG cable or U disk, power on the control board again, and after powering on, log in to the backstage to check whether it is the card flashing version.
