

The BM1398BB is an ASIC chip manufactured using a 7nm process, with an operating voltage range of 0.36V to 0.38V. This chip is found on the hash boards of Bitmain Antminer models like the S19, T19, S19 Pro, and S19 hydro.
If this ASIC chip fails, it can lead to a reduced hash rate or even a zero hash rate. Using the Antminer S19 as an example, typical signs of a failed chip include:
· The Antminer's management interface detects only one or two hash boards, indicating that one or more boards are missing.
· The number of chips detected on a board shows as 0 or less than the expected count.
· The Antminer's backend kernel log shows "Chain[1] only find 0 asic," or a number lower than 76.
How to replace a BM1398BB chip:
1. Disassemble the miner, remove the faulty hash board, and place it on an insulating pad.
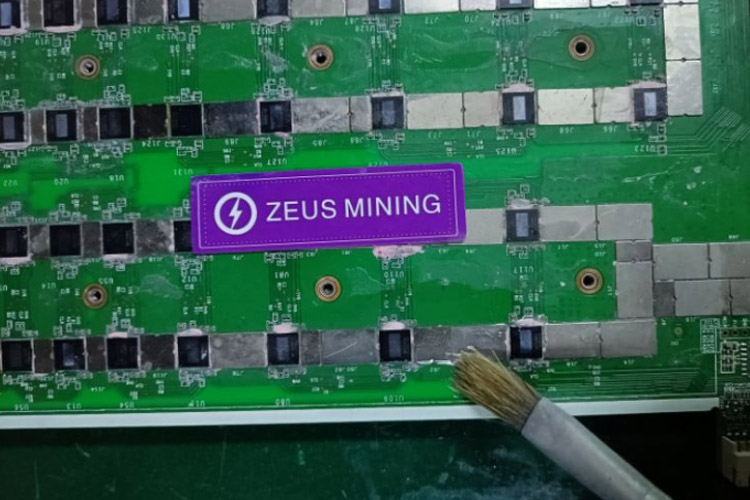
2. Use a test fixture to locate the faulty chip's position quickly. Remove the front heat sink and clean around the chip with a circuit board cleaner.

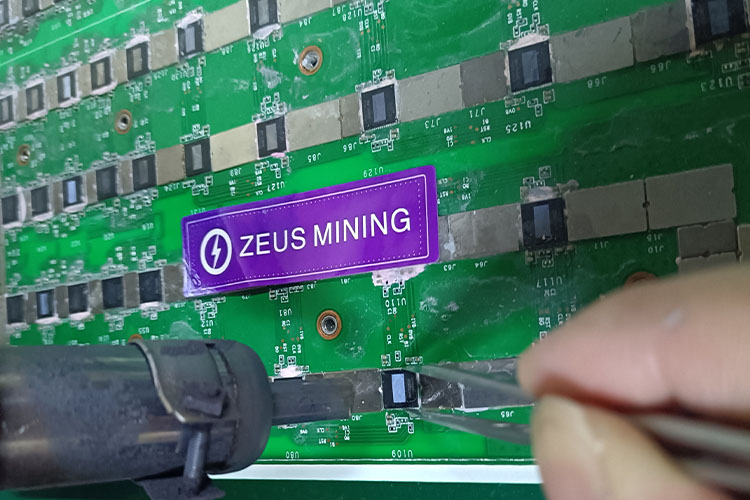
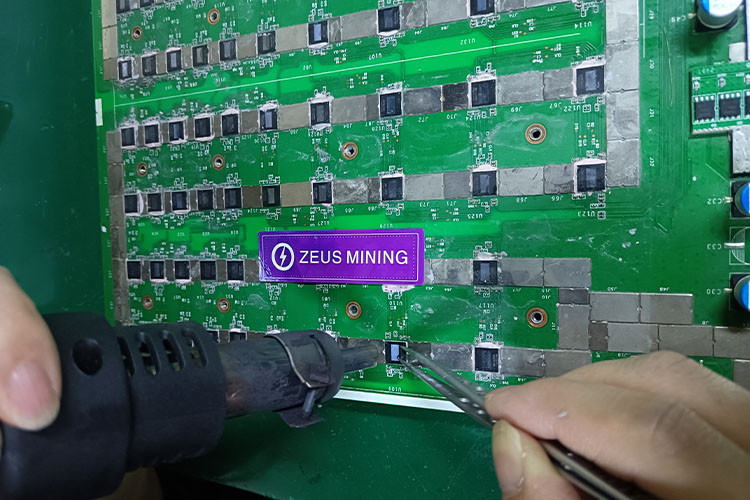
3. Locate the heat sink on the back of the faulty chip, adjust the heat gun to about 480°C, and heat the heat sink. Use tweezers to hold the heat sink and once the solder melts, remove it. Then use a fan to cool the hash board.
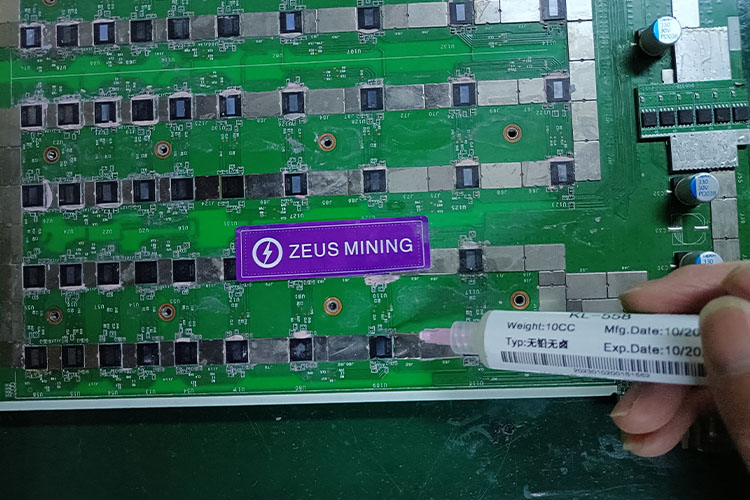
4. Remove the faulty chip. Apply flux paste around the chip's pins, start the heat gun, and set the temperature to about 400°C with a medium fan speed. Position the heat gun nozzle about 5 cm above the chip and heat until the solder on the chip's pads melts. Use stainless steel tweezers to grab the BM1398BB chip, and once the tin melts, lift it off the pad. Clean the remaining residue with a circuit board cleaner and cool the hash board with a fan.


5. Install the new chip. The new chip's soldering surface doesn't have solder, so you'll need to pre-tin it evenly with a tin tool. If you're unsure how to do this, refer to "How to use an ASIC chip tin tool?" If there's not enough solder on the pads, you can add a bit of tin paste; apply some flux to the pads, and heat with the heat gun until the solder melts. Align the chip's pins with the pads and continue using the heat gun until the tin completely surrounds the chip's pins.

6. Once the chip is installed, use a fan to cool the hash board. Then clean any remaining solder residue and flux from the hash board with lead-free board cleaner.
7. Use a multimeter to check the ground values on the chip's pins to ensure good soldering; use the test fixture to check the board's status. If it shows "ASIC: OK," then the chip replacement was successful. Apply thermal grease evenly on the chip's surface, then attach the heat sink or water cooling plate.
8. Put the hash board back in the miner box and power up the miner for testing.
These are the steps for replacing a BM1398BB chip. Replacing a faulty chip with a new one can restore the hash board to normal operation. ASIC chips are key to the hash board and miner's operation; if one fails, you need to replace it promptly to restore the hash rate and extend the miner's lifespan.
Dear Customers,
Hello, April 4, 5 and 6, 2025 (GMT+8) are the traditional Chinese festivals - Qingming Festival. Our company will suspend shipments during these 3 days and resume shipments on April 7 (GMT+8). We are deeply sorry for the inconvenience. Thank you for your understanding and support.
Best wishes,
ZEUS MINING CO., LTD