


Antminer S19j pro no pic is an efficient Bitcoin miner manufactured by Bitmain that uses the SHA-256 algorithm. Its hash rate is 104T, power consumption is 3068W, and power efficiency is 29.5J/TH.
However, as a traditional air-cooled miner, Antminer S19j pro has an operating temperature range of 0~40°C. Long-term operation of miners will generate a large amount of heat. Once the working temperature is too high, the miners may stop running or damage components, making it impossible to achieve ideal hash rate. Use the water cooling plate kit to modify and upgrade the S19j pro hash board to quickly remove heat energy through the flow of liquid. The water cooling system can effectively reduce the operating temperature and power consumption, and improve the heat dissipation capacity and mining efficiency of the miner.
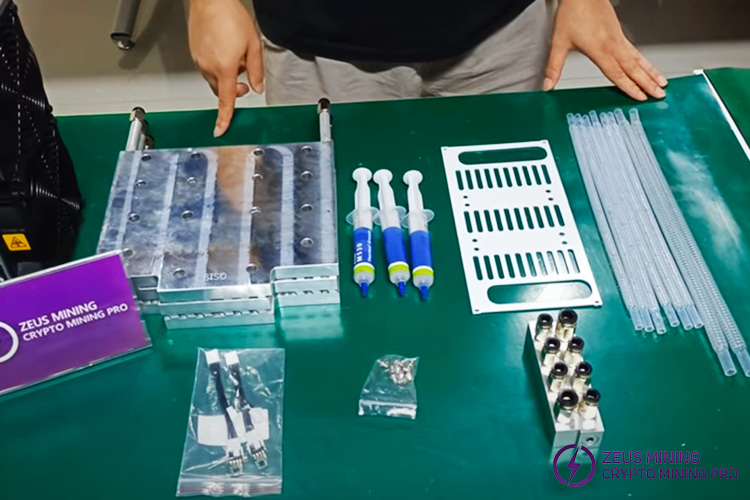
Antminer S19j pro 104T water cooling plate kit contains:
3 water-cooling plates, thermal grease, fan baffle, splitter, water pipes, screws, fan simulator, water pipe connector and external radiator.
How to upgrade Antminer S19j pro to water cooling system?
1. Take the hash board. Use a screwdriver to unscrew the fixing screws on the machine case, remove the fan and conductive copper sheets, pull out the three hash boards.
2. Take off the heat sink. The S19jpro 104T hash board is an aluminum substrate with integrated heat sinks on the front and back. Use a screwdriver to unscrew the screws holding the heat sink, then take off the heat sink.

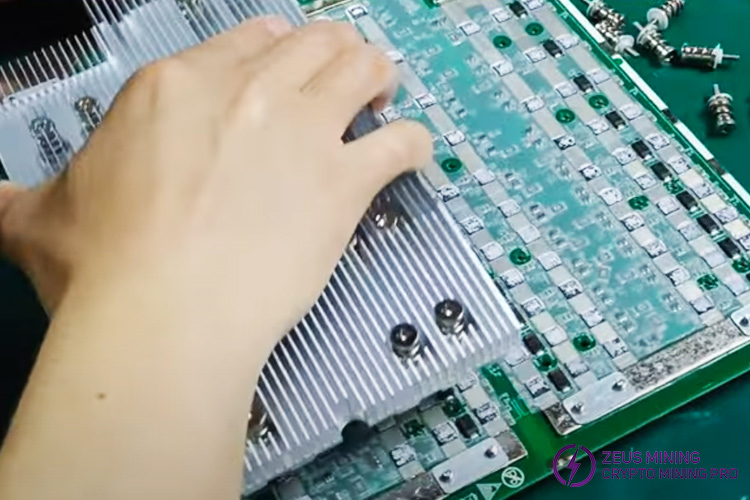
3. Clean the hash board. Clean the dust and impurities on the surface of all hash boards. If possible, use an ultrasonic device for cleaning. Use cleaner to clean the thermal grease on the surface of the heat sink and ASIC chip.

4. Prepare 4 bottles of 4W thermal grease, cover the thermal grease mold on the surface of the S19j pro hash board and align the ASIC chip holes. Add an appropriate amount of thermally conductive silicone grease to the printing mold, use a scraper to evenly apply the thermally conductive silicone grease to the surface of each ASIC chip.
5. Align the water-cooling plate with the ASIC chip and screw holes, use screws to lock the water cooling plate firmly on the hash board.
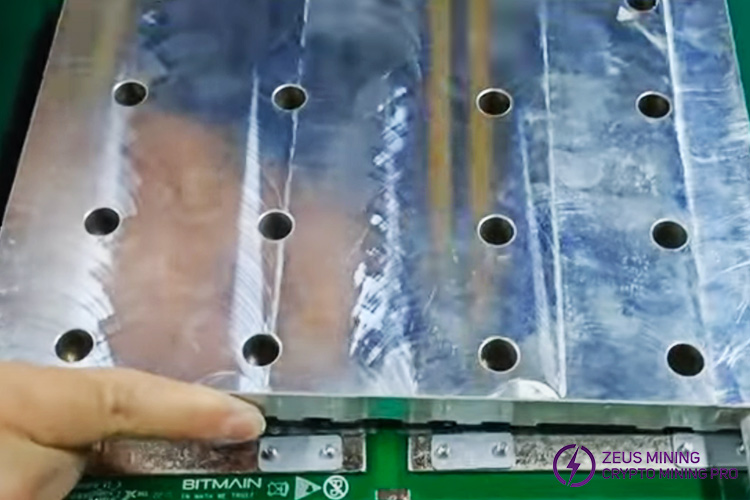
6. Apply thermal grease evenly to the back heat sink and install it on the hash board.
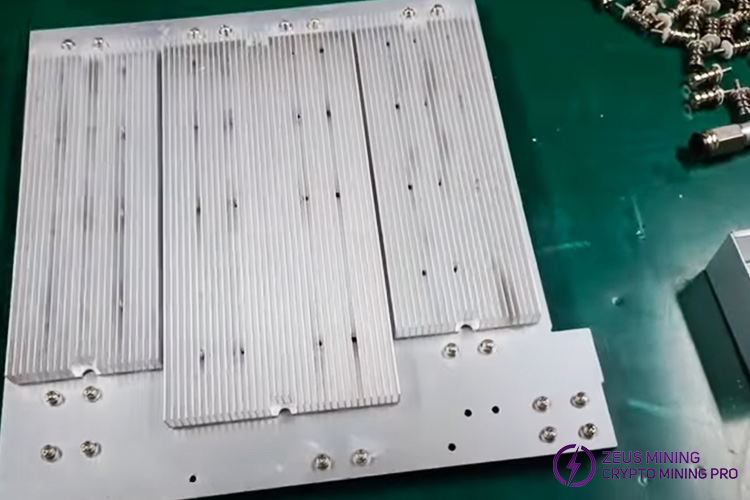
7. After installing the water-cooling plates on the three hash boards, insert the hash board into the miner box card slot, and connect the data cables and conductive copper sheets.
8. Plug the fan simulator into the fan connector on the control board to simulate fan speed.
9. Next we need to install the diverter. Align the holes on the fan baffle and use screws to fix the two splitters on the fan baffle.
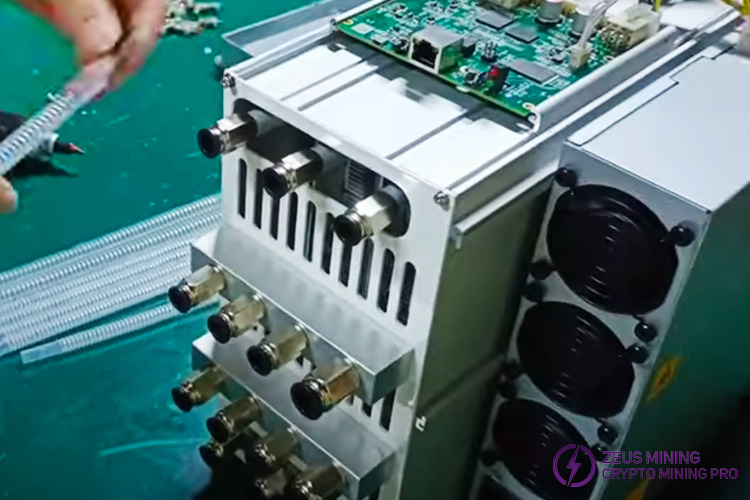
10. Install the fan baffle to the original cooling fan location and secure it with screws.
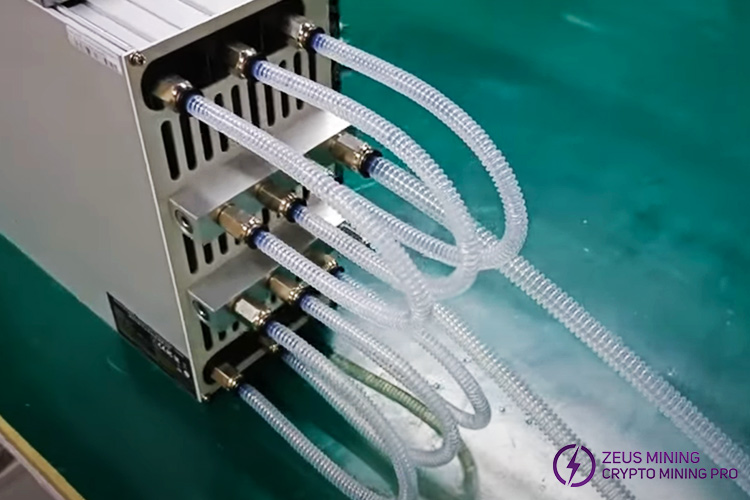
11. Install water pipes. Insert one end of the 6 corrugated pipes into the water cooling plate connection, connect the other end to the water diverter. Insert one end of the remaining two water pipes into the water distributor, and connect the other end to the radiator water pipe through the connector.
To upgrade to a complete water cooling system, an external radiator is also required for water circulation and cooling. External radiator kit includes: cold row, water pump, bracket, screws, transparent hose, power cord, coolant. As well as spare parts 6P cable and fan controller.
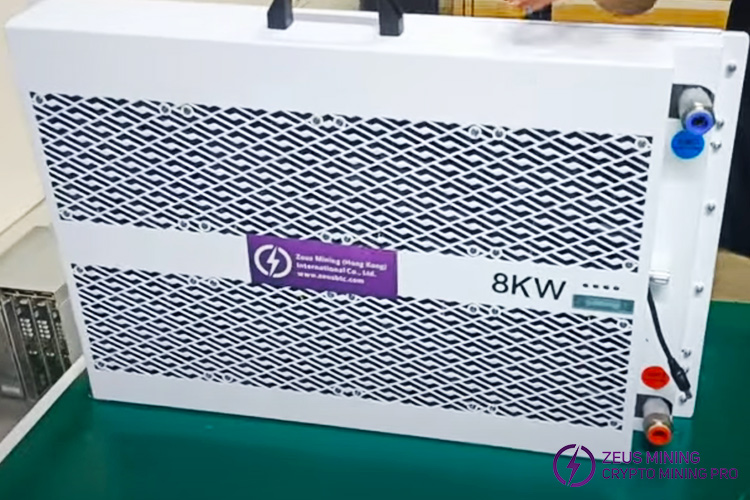
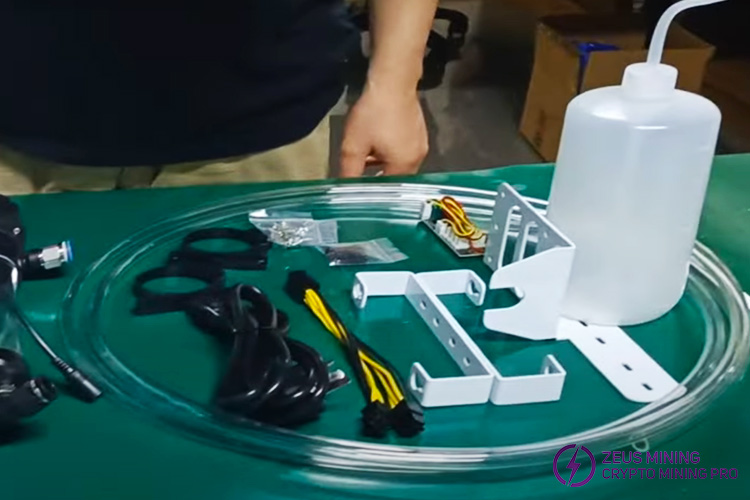
External radiator installation steps:
1. Use screws to secure the bottom bracket of the radiator to keep the radiator stable.
2. Find the corresponding position, install the water pump bracket, put the water pump into the bracket slot.
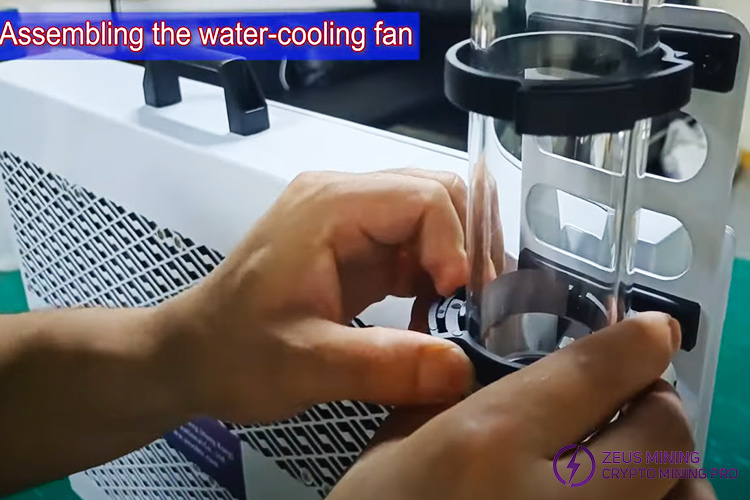
3. Connect the cable between the water pump and the radiator.
4. The pump water inlet and the radiator water outlet are connected with water pipes.
5. Connect one end of the water pipe to the pump outlet, and the other end to the upper diverter through the connector.
6. Use another water pipe to connect the water injection port of the radiator, and insert the other end into the water pipe connector connected to the lower splitter.
Note: To prevent air bubbles and damage to the pump, it is recommended to fully insert the water inlet pipe into the pump when installing the pump.
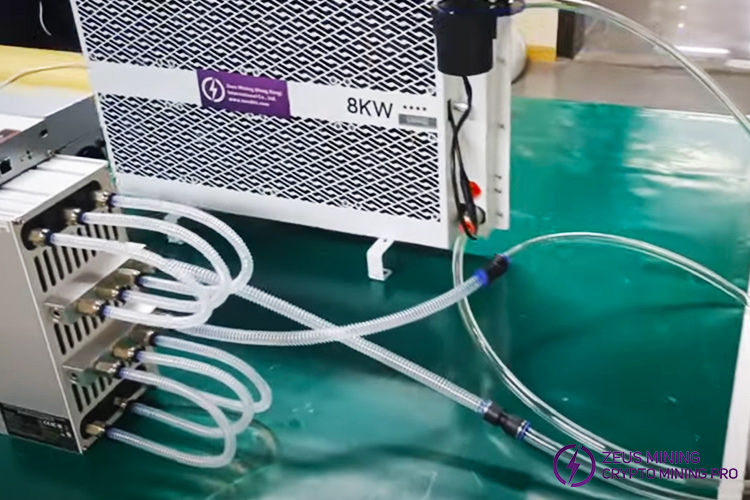
These are the steps on how to install a water cooling plate and connect an external radiator. By completing the above steps, the Antminer S19j pro has been modified. Next, it's just a matter of adding antifreeze coolant to the water pump and running it on. During the initial operation, the water level in the water pump will drop to a certain extent, coolant needs to be continuously injected until the water level no longer drops.
Through the above operations, Antminer S19j pro will be successfully upgraded from an air-cooled miner to a liquid-cooled system.