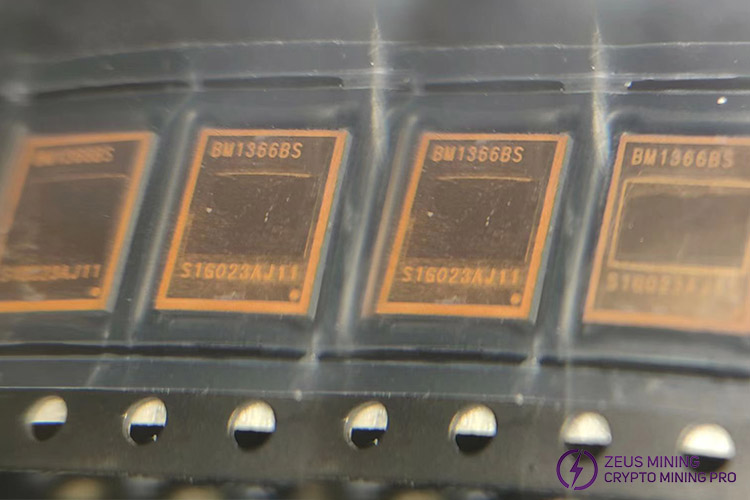


The Antminer BM1366BS ASIC chip is a high-performance chip lanuched by Bitmain specifically for Antminer S19KPro. Through front edge manufacturing technology, this chip boasts excellent energy efficiency ratio and stability to maintain a high hash rate even under high-load working conditions.

When the BM1366BS ASIC chip of Antminer S19KPro is damaged, there may experience a drop in hash rate or even 0 hash rate, leading to frequent errors reporting or failure to boot, directly affecting mining profits. To restore the miner's normal operation and maintain high performance, please replace a new spare chip immediately to prevent further losses caused by chip failure.
Here are the steps for replacing the BM1366BS ASIC chip:
1. Remove the protective shell above the miner, detach the conductive copper sheets and outlet port cooling fans, unplug the cables, then carefully take out the faulty hash board to place on an insulating mat.
2. Quickly locate the faulty chip with an Antminer test fixture.
3. Using a hot air gun (around 450℃, maximum airflow) to remove the small heat sinks on the both sides of the hash board corresponding to the faulty chip.
4. Apply some no-clean flux around the faulty chip's pins. Then, heat it by the hot air gun (around 400℃, second gear wind speed) until the solder on the pad melts. Carefully pick out the chip with tweezers.
5. Quickly cool the hash board using a cooling fan, then clean the solder residue and dust from its surface with circuit board cleaner.
6. Evenly tin the new BM1366BS ASIC chip by a chip tinning tool.
7. Align the tinned chip pins with the hash board pads and apply a little flux, then continue to heat until the solder completely covers it. Gently press the chip with tweezers for a few seconds.
8. Repeat the step 5.
9. Test the grounding value of the chip signal using a multimeter to ensure proper soldering, without virtual soldering or bridging.
10. After reinstall the heat sinks on the front side, install the backside one on the hash board. (If the solder paste on the heat sinks is sparse, a few 138℃ solder paste can be added to them. Then use a hot air gun to melt it, and then solder the both sides heat sinks on the hash board.)
11. Place the hash board back into the miner case, install the conductive copper sheets and cooling fans, connect the cables, and then reinstall the protective shell.
12. Power on the entire machine for testing to check if its performance has returned to normal.
Hope this tutorial can help you replace the BM1366BS ASIC chip in the Antminer S19K Pro hash board successfully to restore miner's normal operation. If you have any issues during the process, please seek assistance from professional technicians. Thank you for attention, wish you a pleasant mining journey!
Dear Customers,
Hello, April 4, 5 and 6, 2025 (GMT+8) are the traditional Chinese festivals - Qingming Festival. Our company will suspend shipments during these 3 days and resume shipments on April 7 (GMT+8). We are deeply sorry for the inconvenience. Thank you for your understanding and support.
Best wishes,
ZEUS MINING CO., LTD