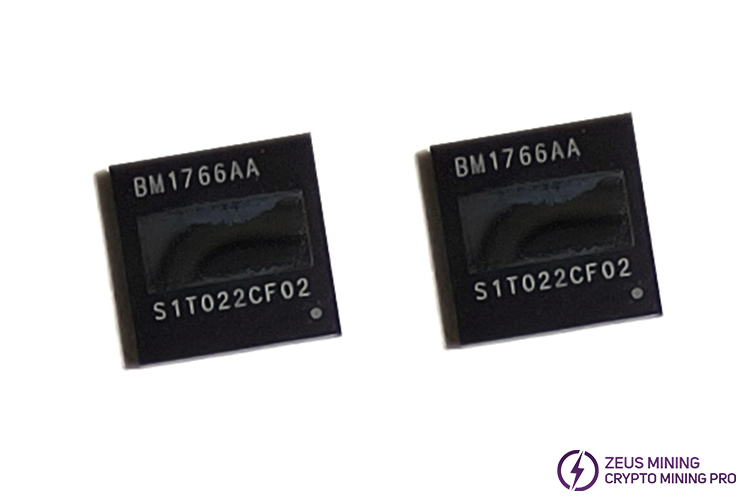


The BM1766AA ASIC chip is used to replace faulty chips on Antminer D9 hash boards. It meets the specific requirements of the Antminer D9 hash boards to maximize the mining capabilities of the miner.

As a vulnerable component of the Antminer D9 miner, the BM1766AA chip may experience aging or wear after prolonged operation, resulting in low hash rate or even 0 hash rate, thereby affecting mining profits. Promptly replacing faulty chips can effectively solve these issues to help the miner restore its optimal performance.
Here are the steps to quickly replace the BM1766AA ASIC chip:
1. Locate the faulty chip
● Remove the protective shell on top of the miner, detach the conductive copper sheets and air outlet cooling fan, unplug the cables, then carefully remove the faulty hash board.
● Remove the heatsink on the front side of the hash board, then clean the thermal grease and dust from its surface.
● Use an Antminer hash board test fixture to accurately locate the faulty chip.
2. Remove the faulty chip
● Use a heat gun to blow off the small heat sink on the back of the hash board corresponding to the faulty chip.
● Apply a suitable amount of no-washing flux around the pins of the faulty chip, heat it until the solder of its pins melts, carefully remove it with tweezers.
3. Cool and clean hash board
● Use a cooling fan to quickly cool the hash board, then carefully clean the solder residue on it with lead-free board washing fluid to ensure a clean surface.
4. Tin and solder the new chip
● Use a chip tinning tool to evenly tin the new BM1766AA ASIC chip.
● Align the tinned chip pins with the solder pads at the faulty location on the hash board with tweezers, next add an appropriate amount of flux.
● Heat it until the solder completely covers the chip pins, gently press the chip with tweezers for a few seconds to ensure stability.
5. Chip testing
● Use a multimeter to check the grounding value of the chip signal to ensure no virtual soldering or soldering bridges.
● Then use the hash board test fixture to test the single board to ensure successful chip replacement.
6. Assembly and testing
● Apply thermal grease evenly on the surface of the chip and install the heatsink.
● Place the hash board back into the miner case, reinstall the previously removed conductive copper sheets and cooling fans, next connect the cables.
● Power on the entire machine to check if the performance restore normal state.
In the field of digital currency mining, the performance of ASIC chips directly determines the mining efficiency and profitability of miners. Therefore, promptly replacing faulty ASIC chips is crucial to ensure the stable operation of miners. Considering the complexity of the mining environment, it is recommended to maintain an appropriate inventory of vulnerable components such as ASIC chips.
Dear Customers,
Hello, April 4, 5 and 6, 2025 (GMT+8) are the traditional Chinese festivals - Qingming Festival. Our company will suspend shipments during these 3 days and resume shipments on April 7 (GMT+8). We are deeply sorry for the inconvenience. Thank you for your understanding and support.
Best wishes,
ZEUS MINING CO., LTD