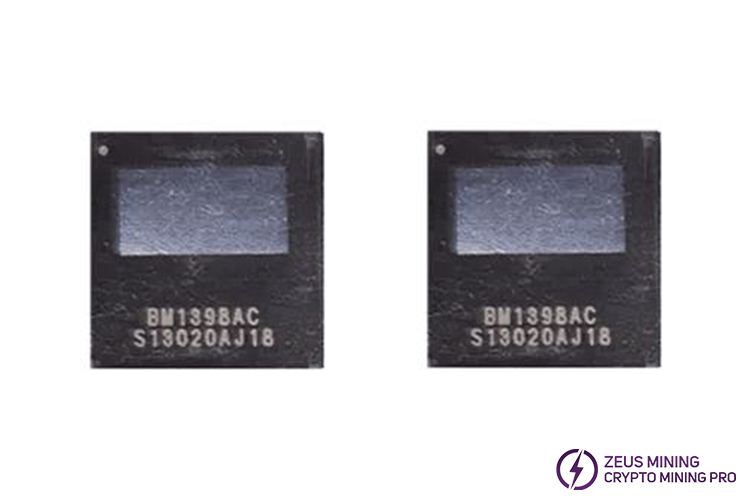


The BM1398AC replacement ASIC chip is designed to provide a stable and efficient hashing rate for Bitmain S19a / S19Apro / S19+ miners in the process of cryptocurrency mining. With its excellent hash rate and low power consumption characteristics, it not only ensures stable operation during the mining process but also significantly reduces overall operating costs, creating higher economic benefits for miners.

The high-performance operation of the ASIC chip is often accompanied by the generation of high heat, while prolonged high-temperature environments may affect its performance or even damage it. If a hash board's BM1398AC chip fails, it will experience a low hash rate even a 0 hash rate. Timely replacement of the faulty one ensures optimal mining performance to mine more cryptocurrencies within the same time.
The detailed replacement steps for the BM1398AC chip of the S19+ hash board are as follows:
Removing the faulty chip:
1. Shut down the miner, then unplug the power cord to ensure the machine is completely powered off.
2. Remove the protective shell on the top of the miner, unscrew the fixed screws of the conductive copper sheets and outlet cooling fan to remove them, carefully disconnect the connecting cables, and then take out the problematic hash board to place it on the workbench.
3. Disassemble the heat sinks on the front of the hash board, next use a cleaning cloth dipped in PCB cleaning solution to clean the dust on the board.
4. Use an Antminer test fixture to locate the faulty chip.
5. Remove the small heatsink on the back of the hash board corresponding to the faulty chip, apply a suitable amount of no-clean flux around its pins, heat it with a hot air gun until the solder melts, and use tweezers to slowly pick the chip to remove it.
6. Cool the hash board with a cooling fan, wait for its temperature to return to normal, then clean the solder residue on the board.
Installing the new chip:
1. Use a chip tinning tool to tin the new BM1398AC chip.
2. Align the newly tinned chip with the solder pads at the fault location on the hash board, add a small amount of flux, heat until the solder completely wraps around its pins, and press it with tweezers for a few seconds to ensure a secure soldering.
3. Cool and clean the hash board.
Assembling and testing
1. Check the soldering condition of the chip, then use a test fixture to detect the status of the single hash board to ensure successful chip replacement.
2. After soldering the small heatsink to the corresponding position on the back of the hash board, evenly apply thermal paste on the chip surface, and secure the large heatsink to the front of the hash board with screws.
3. Place the hash board back into the miner case, fix the conductive copper sheets and outlet fan, finally connect the cables.
4. Install the protective shell removed earlier and secure it with screws.
5. Power on the miner to check if it can operate normally.
When the miner exhibits an abnormal hash rate, timely replacement of faulty ASIC chips is crucial. This not only helps miners quickly restore optimal mining status but also ensures we maintain a leading position in the fierce mining competition, continuously earning more cryptocurrency profits.