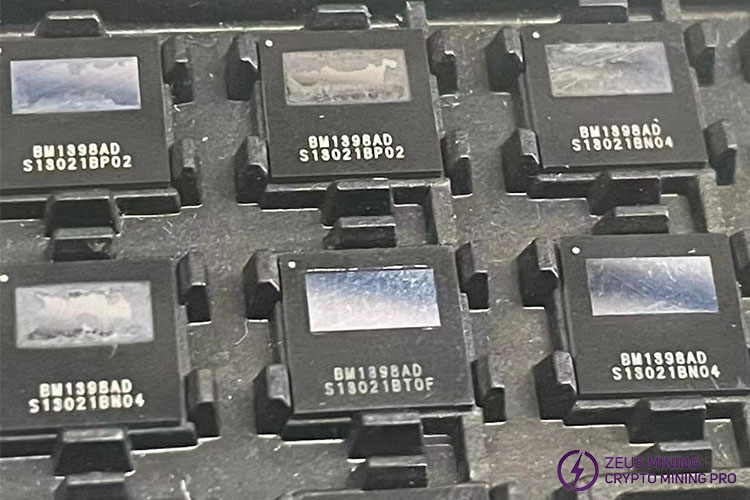


The BM1398AD ASIC chip is a high-performance chip specifically designed by Bitmain for cryptocurrency mining. It utilizes the advanced SHA-256 algorithm to provide powerful hash rate support for Antminer S19a and S19APro miners. Its excellent performance and optimized power consumption control ensure efficient mining.

During prolonged high-speed operation, miners inevitably generate high heat, which accelerates the aging and wear of ASIC chips. If one or more BM1398AD ASIC chips on the hash board fail, it will directly result in a significant decrease in the overall hash rate of the miner, or even 0 hash rate, severely affecting mining revenue. Promptly replacing faulty chips can restore the optimal hash rate of the machine, bringing stable income to miners.
The specific substitution steps for the faulty BM13998AD ASIC chip of Antminer S19a Pro miner are as follows:
I. Removing the faulty chip
1. Disassemble the miner, then take the problematic hash board out to an insulated workbench.
2. Unscrew the fixed screws of the heat sinks on the front of the hash board to remove them, next clean the dust from the board with a cleaning brush.
3. Locate the faulty chip with an Antminer test fixture.
4. Remove the small heat sink on the back of the hash board corresponding to the faulty chip, then add an appropriate amount of no-cleaning flux to its pins. Use a hot air gun to melt the solder, and slowly lift the chip with tweezers until it's removed.
5. After quickly cooling the hash board using a cooling fan, clear the residue solder on the board with the circuit board cleaning solution.
II. Installing the new chip
1. Tin the new BM1398AD chip with a tinning tool, then align its pins with the solder pads of the hash board's faulty location and add an appropriate amount of flux.
2. Heat it until the solder completely covers the chip pins, gently pressing with tweezers for a few seconds to ensure a secure connection.
3. After the chip soldering is complete, cool and clean the hash board.
III. Assembly and Testing
1. Check the soldering condition of the new chip to ensure a good connection. Then use the testing fixture to detect the status of the hash board, ensuring successful chip replacement.
2. Solder the small heat sink, then evenly apply thermal grease on the surface of the replaced ASIC chip. Finally, fix the large heat sink on the front of the hash board with screws.
3. Place the hash board back into the miner case, install components, and connect cables.
4. Install the protective case plate, secure it with screws.
5. Power on the miner to check if it operates normally.
In the process of cryptocurrency mining, the hash rate of miners directly determines their mining capability and revenue. Promptly replacing faulty chips not only helps restore the miner's hash rate but also avoids downtime losses caused by their failures. This will bring more stable income to miners and safeguard their investment returns in the field of cryptocurrency mining.