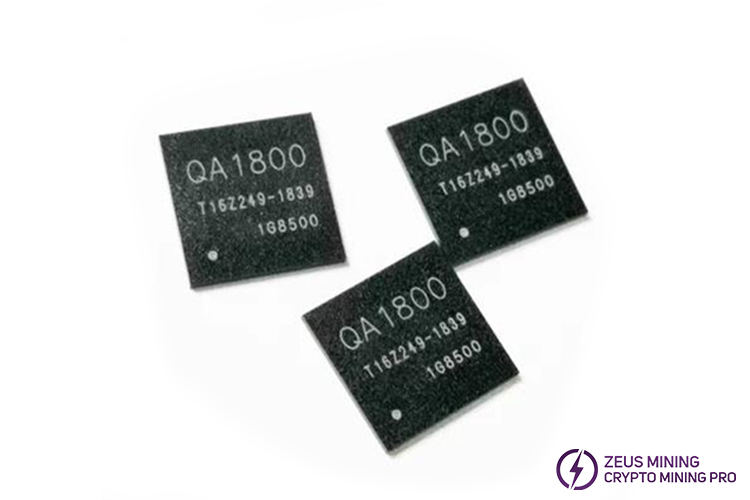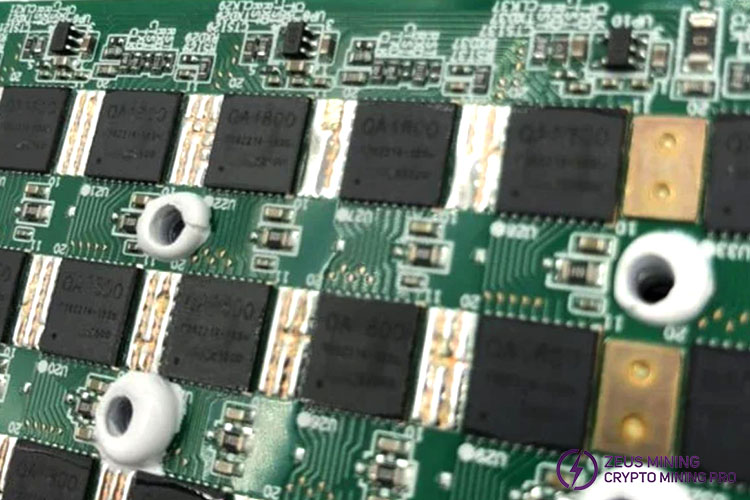


The QA1800 chip is used to replace faulty ASIC chips on the Whatsminer M10 hash board, effectively restoring the miner's optimal hash rate, enabling continuous mining operation, and significantly reducing financial losses caused by failures.

After the Whatsminer M10 miner experiences long-term operation, it exhibits a low hash rate even 0 hash rate, which is primarily caused by faulty ASIC chips. It is recommended to use a test fixture to detect and replace faulty ASIC chips, ensuring that the miner can quickly resume operation to avoid further losses.
The specific replacing steps for the Whatsminer M10 QA1800 ASIC chip are as follows:
I. Removing the faulty hash board
1. Disconnect the power cable of the miner, unplug the inlet fan plug, and next remove the fixing screws of the protective cover plate above the control board.
2. Disconnect the cables connected to the control board to remove it.
3. Remove the fixing screws of the adapter plate, then take it off.
4. Dismantle the inlet fan and the fan baffle.
5. Unscrew the fixing screws of the conductive copper sheet, and take out the problematic hash board, placing it on an insulated workbench.
II. Replacing the ASIC chip
1. Remove the heatsinks from the hash board, after that use a cleaning brush to remove dust from the board.
2. Use a test fixture to locate the faulty ASIC chip.
3. Apply flux around the pins of the faulty chip. Once the heating platform reaches the preset temperature (around 300℃), place the hash board on it to heat. When the solder melts, gently pick up the chip with tweezers to remove it.
4. Move the hash board to an insulating mat, then use a cooling fan to quickly cool it down. Next, use circuit board cleaning fluid to remove residual solder from the board.
5. Check the pin status of the new QA1800 ASIC chip, tin it with the chip tin tool, then align its pins with the solder pad, and apply an appropriate amount of flux. Heat it until the solder melts, completely covering its pins. Then, gently press the chip with tweezers for a few seconds to ensure a secure soldering.
6. Cool and clean the hash board using the method in step 4.
7. Check the soldering condition of the new chip, ensuring no false soldering, desoldering, or short-circuit issues. Then, use a multimeter to test the voltage across the newly replaced QA1800 chip to ensure its successful replacement.
III. Assembly and testing
1. Evenly apply thermal paste on the surface of the newly replaced chip, and then install the heatsinks.
2. Insert the hash board along the guide slot and align it with the screw holes, tightening the fixing screws of the conductive copper sheet.
3. Correctly insert the adapter plate, secure it with screws. Then, install the inlet fan.
4. Connect the corresponding cables on the control board, ensuring a secure connection, and tighten its fixing screws. Finally, connect the inlet fan plug.
5. Power on the miner to check its operating status.

By replacing the QA1800 ASIC chip, we can effectively resolve the hash rate issue caused by faulty ASIC chips on the Whatsminer M10 miner, enabling it to quickly resume efficient mining.