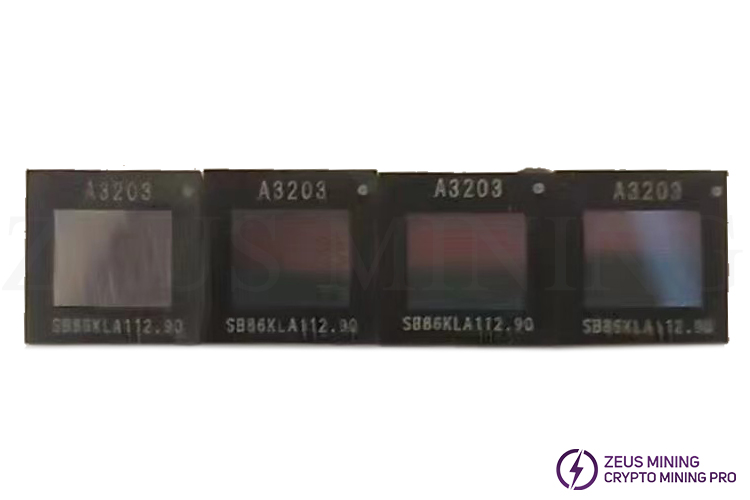


The A3203 chip is one of the essential ASIC chips on the Avalon 1066 Pro hash board, providing stable hash rate support for its operation. Timely replacement of the faulty A3203 chips can effectively solve the hash rate problem in the miner to restore its normal operation, enabling stable income.

The high-speed operation of the miner is often accompanied by the generation of high heat. Even with the most efficient cooling system, it is difficult to completely avoid the accelerated aging of ASIC chips due to its impact. When one or more A3203 chips on the hash board are damaged, the hash rate of that board will be lower than the normal level, affecting the mining efficiency of the miner, and further affecting income. It's the first choice to replace the faulty one promptly.
Here are the change steps for Avalon 1066 Pro miner A3203 ASIC chip:
1. Power off the miner and unplug the power cord. Wait for the machine to cool down before proceeding to avoid burns.
2. Unplug the fan connector, remove the protective shell on the top of the miner, and carefully disconnect the cables between the hash board and the control board.
3. Remove the outlet cooling fan, unscrew the fixing screws of the conductive copper sheets, and take out the hash board required to replace the faulty chip, placing it on an insulated workbench.
4. Dismantle the hash board heat sinks. Use a cleaning brush to carefully remove the dust from the board.
5. Locate the faulty chip with an Avalon test fixture.
6. Find the damaged chip based on the test results, then apply flux around its pin.
7. Set the heating platform to approximately 300°C, and place the hash board on it once it reaches the preset temperature. When the solder on the pin melts, use tweezers to gently grasp the chip, slowly lift to remove it.
8. Use a cooling fan to quickly cool the hash board, then use circuit board cleaning fluid to remove residual flux and solder from it.
9. Inspect the new A3203 ASIC chip, confirming that its pin are intact.
10. After tinning the new chip, align its pin with the hash board's pads, next, apply an appropriate amount of flux.
11. Heat the hash board with the heating platform until the solder completely covers the chip's pin. Use tweezers to gently press the chip to ensure a secure connection. Once the solder points look full and shiny, move the board to an insulated pad, not remove the tweezers until the soldering solidify.
12. Repeat step 8.
13. Check if the soldering is satisfactory, after that use a test fixture to test the single hash board status, ensuring successful chip replacement.
14. After fixing the heat sinks on the back of the hash board, evenly apply thermal grease to the surface of the newly replaced A3203 ASIC chip and install the front ones.
15. Place the hash board back into the miner's chassis, install the previously removed components, and connect the corresponding cables.
16. Power on the whole machine to observe its operating status.
Timely replacement of miner ASIC chips not only means maintaining consistent mining efficiency, but it is also crucial in keeping competitiveness in a fiercely competitive environment.
Dear Customers,
Hello, April 4, 5 and 6, 2025 (GMT+8) are the traditional Chinese festivals - Qingming Festival. Our company will suspend shipments during these 3 days and resume shipments on April 7 (GMT+8). We are deeply sorry for the inconvenience. Thank you for your understanding and support.
Best wishes,
ZEUS MINING CO., LTD