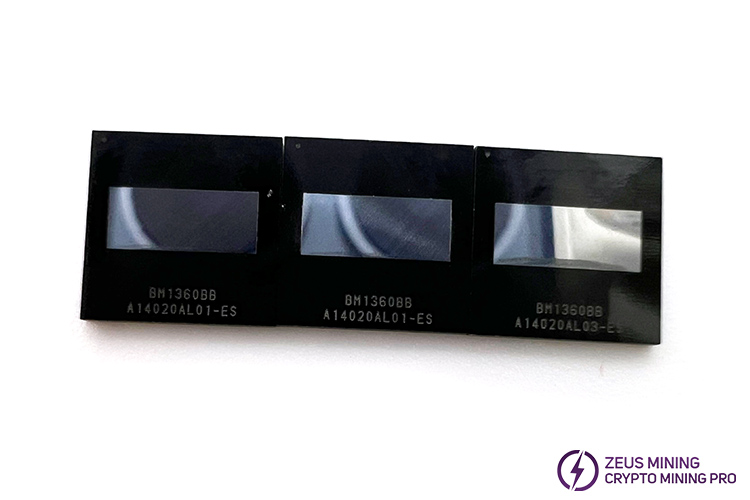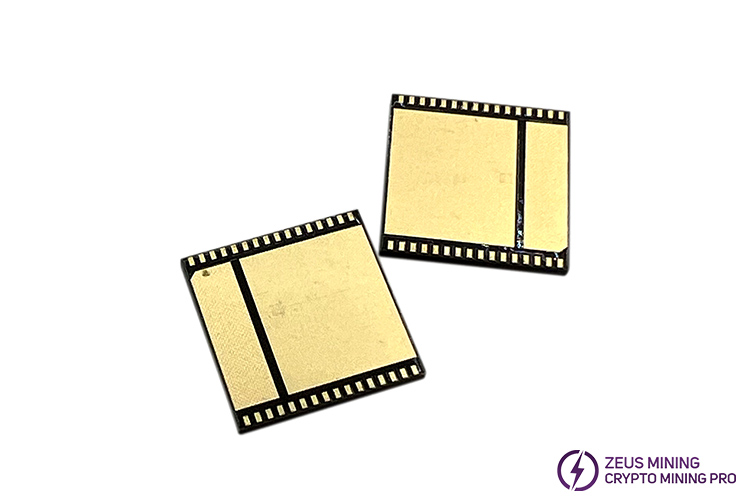


The BM1360BB chip is compatible with replacing the faulty ASIC chip on Bitmain Antminer S19jpro / S19i hash board. Specifically engineered to address issues of 0 hash rate or low hash rate, it significantly enhances miner performance and extends its lifespan. Supporting the SHA256 algorithm for Bitcoin mining ensures stable hash rate support for high profitability.


Adverse factors such as static electricity, over-voltage, and voltage fluctuations can cause irreversible damage to ASIC chips. When the BM1360BB ASIC chip fails, it directly leads to a significant drop in hash rate, impacting mining efficiency. Furthermore, chip damage may trigger an internal circuit short or abnormal operation, causing overheating issues which leads to the miner being unable to start, frequently restart, or automatically shut down during operation. In such cases, promptly replacing a new spare chip is crucial to restore the miner's operation and prevent further losses.
Taking the Antminer S19j pro miner as an example, the replacement steps for the BM1360BB ASIC chip are as follows:
1. Power off the miner and unplug the power cord for safe operation.
2. Disconnect the fan plugs, remove the top protective cover plate, and unplug all cables connected to the hash board.
3. Remove the fixing screws of the conductive copper sheets, detach the outlet cooling fan and its baffle, then extract the hash board.
4. Dismantle the front heat sinks of the hash board. Use a cleaning brush to eliminate dust from the board.
5. Locate the faulty chip with the Antminer test fixture, then use a heat gun (around 450°C) to remove the corresponding heat sink from the back of the hash board.
6. Apply flux around the pins of the faulty chip. Adjust the heat gun to around 400°C with the second gear fan speed, and aim it 5cm above for heating. Once the solder starts to melt, use tweezers to clamp and slowly lift the chip for removal.
7. Quickly cool the hash board with a PCB cooling fan, then use the circuit board cleaning solution to remove residual flux and solder.
8. After inspecting the new BM1360BB ASIC chip, tin its pins with a tinning tool, then align it with the hash board pad, and apply an appropriate amount of flux. Heat the area with the heating gun while pressing the chip with tweezers to ensure secure soldering. Stop heating when the chip pins are fully wrapped with soldering and the joints are shiny and full, then do not release the tweezers before the solder solidifies.
9. Repeat step 4 to cool and clean the hash board.
10. Use a multimeter to test the ground values of the chip signals to ensure good soldering. Test the hash board status with the test fixture; if the test passes, the chip replacement is successful.
11. Heat the small heat sink with the heat gun, solder it to the back of the hash board once the solder melts, press it with tweezers, and heat for another 10 seconds. Remove the tweezers after the solder solidifies. Apply an even layer of thermal paste on the surface of the newly replaced chip and secure the front heat sink with screws.
12. Return the hash board to the miner case, reinstall the removed components, and reconnect the corresponding cables.
13. Power to the entire machine, then observe its operation status, confirming that the hash rate has returned to normal levels after the chip replacement.
In the fierce competition of cryptocurrency mining, the health of ASIC chips is the key to determining miners' performance. Choose a high-quality BM1360BB replacement chip to rejuvenate your mining rig!
Dear Customers,
Hello, April 4, 5 and 6, 2025 (GMT+8) are the traditional Chinese festivals - Qingming Festival. Our company will suspend shipments during these 3 days and resume shipments on April 7 (GMT+8). We are deeply sorry for the inconvenience. Thank you for your understanding and support.
Best wishes,
ZEUS MINING CO., LTD