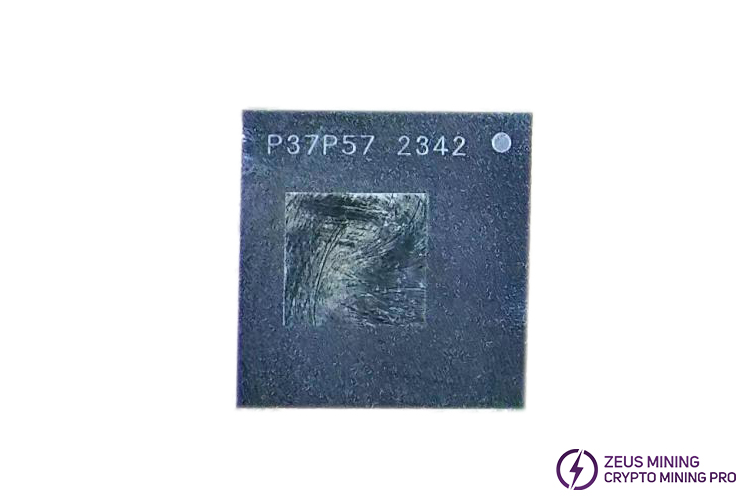


The Iceriver ASIC chip, specifically the P37P57 2342 model, it is an indispensable component for miners to ensure smooth operation. It is suitable for replacing faulty ASIC chips in the hash boards of KS0, KS0pro, KS1, KS2, KS3, KS3L, and KS3M miners, aiding miners in quickly resuming normal hash rate operations. When one or more hashing chips fail, the miner's hash rate will not reach the rated value, thus affecting the miner's normal income. Consequently, it is recommended to promptly replace faulty ASIC chips to safeguard the miner's ongoing profitability.

Taking Iceriver KS3L as an example, a guide to the steps to replace a faulty ASIC chip:
Step 1: Remove the hash board and locate the faulty chip:
• Power off and disassemble the miner's casing, removing the conductive copper sheets, exhaust fans, and all connecting cables. Unmount the faulty hash board and place it on a dedicated anti-static insulation pad.
• Utilize the Iceriver hash board testing fixture to accurately identify and mark the specific location of the faulty chip. Then, disassembly the heatsink.
Step 2: Clean and take out the faulty chip:
• Thoroughly clean the area around the faulty chip to ensure no dust or impurities remain. Apply flux to the chip's pins.
• Use a heat gun at about 400°C, set to 2 gear, to evenly heat the damaged chip until the solder melts. Use tweezers to pick up the chip and remove it.
• Use the cooling fan to quickly cool the hash board, then carefully clean the solder slag residue.
Step 3: Tinning and soldering the new P37P57 2342 chip:
• Using a tinning tool, follow the standard process to tin the pins of the new ASIC chip, ensuring even and complete tin coverage.
• Carefully place the tinned new chip onto the solder pads, applying a moderate amount of flux paste.
• Start the heat gun again and heat the chip area evenly until the solder is completely melted and firmly covers the chip pins.
• Gently press down on the chip with tweezers for a few seconds to enhance soldering stability.
Step 4: Post cleaning, installation, and testing:
• Once the hash board has fully cooled, clean it thoroughly. Use a multimeter to check the chip's signal grounding values, confirming no cold solder joints or solder bridges.
• Apply a layer of thermal grease evenly on the surface of the installed chip and install the heat sink.
• Securely reinstall the hash board into the miner's housing, reconnecting the conductive copper sheets, cooling fans, and all cables.
• Connect the powering, start the miner, and conduct a comprehensive inspection to ensure normal operation.
Replacing the P37P57 2342 chip offers significant benefits to Iceriver miners, notably boosting hash rates and overall performance, reducing failure rates and downtime, as well as minimizing energy consumption and lowering operational costs. The new chip may better accommodate new cryptocurrency algorithms, enhancing market competitiveness and empowering miners to maintain a leading position in the rapidly developing mining industry.
Dear Customers,
Hello, April 4, 5 and 6, 2025 (GMT+8) are the traditional Chinese festivals - Qingming Festival. Our company will suspend shipments during these 3 days and resume shipments on April 7 (GMT+8). We are deeply sorry for the inconvenience. Thank you for your understanding and support.
Best wishes,
ZEUS MINING CO., LTD