


The Bitmain BM1370BC ASIC chip is a high-quality replacement chip specifically designed for S21pro hash boards. It provides strong hash rate support for the S21pro miner's normal operation.
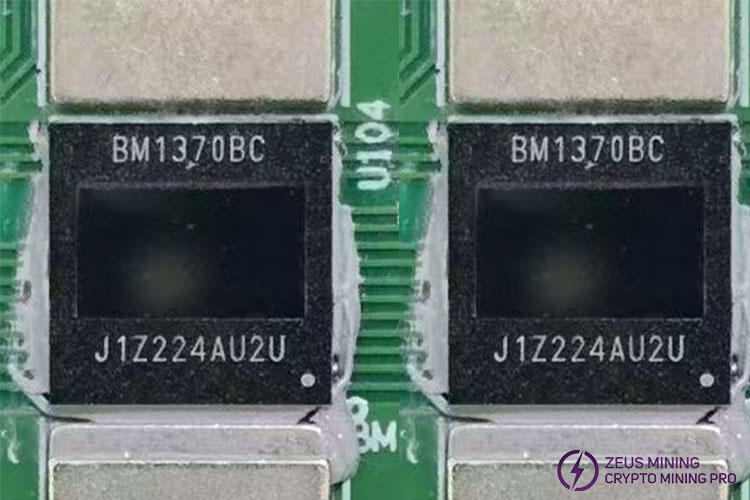
Once the BM1370BC ASIC chip fails, it will affect the overall hash rate of the hash board where it is located, resulting in a low hash rate or even a 0 hash rate. If not replaced in time, it may cause irreversible damage to other electronic components of the board, and in severe cases, the whole machine will stop mining. Replacing the faulty chip with a new BM1370BC ASIC chip, not only can restore the miner's mining quickly but also extend its service life effectively.
The specific replacement steps are as follows:
I. Remove the abnormal hash board
1. Log in to the background log of the miner, then find the number of the hash board that has an abnormal hash rate.
2. Shut down the miner, unplug the power cord, and wait for a few minutes to let the machine cool.
3. Remove the fixing screws of the protective cover plate above the control board, subsequently, carefully remove the shell.
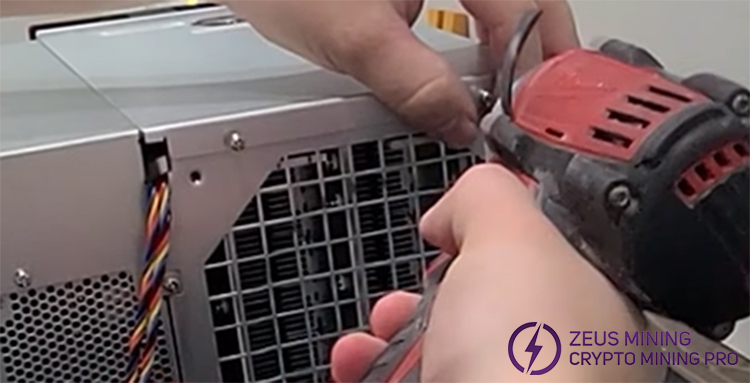
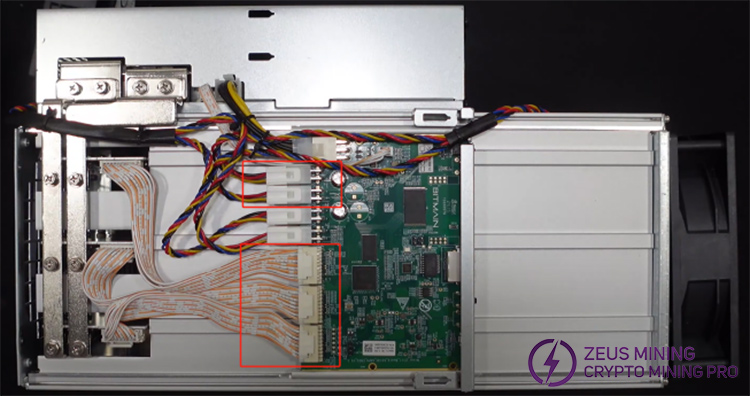
4. Unplug the outlet fan plugs and the hash board ribbon cables connected to the control board, then remove the fixing screws of the conductive copper sheets.
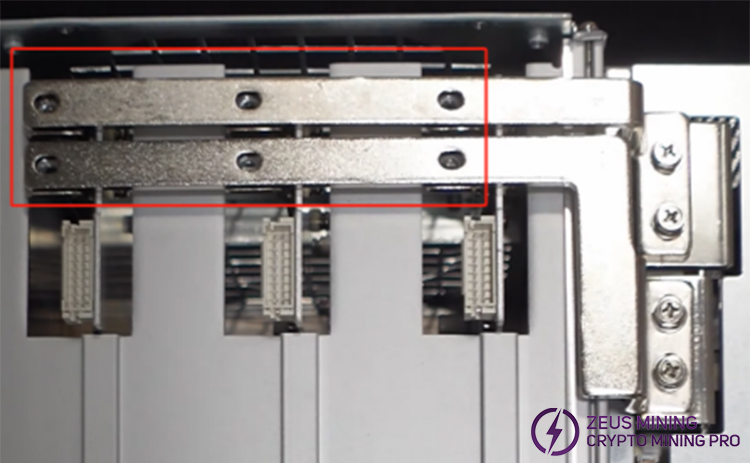
5. After removing the fixing screws of the outlet cooling fans, disassemble them together with the protective net. Then remove the fan baffle and take out the faulty hash board of the corresponding number from the case.
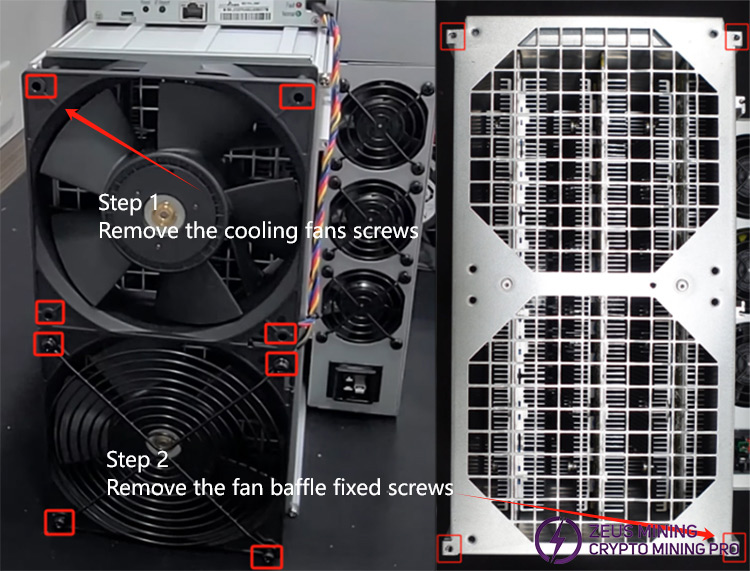
II. ASIC chip replacement
1. Remove the heat sinks on the front and back of the hash board, next, clean the dust on the board with a cleaning brush.
2. Use the Antminer test fixture to locate the faulty ASIC chip.
3. Find the faulty ASIC chip according to the test result, after that add an appropriate amount of flux to its pins.
4. Set the constant temperature heating platform at about 300°C. After it reaches the preset temperature, place the hash board on it for heating. Gently press the faulty chip with tweezers to make it heated evenly. When the solder on its pins starts to melt, use tweezers to gently hold it and slowly lift it until it is removed.
5. Move the hash board to the insulating pad, use the PCB cooling fan to help it cool, and then use the circuit board cleaning solution to remove the residual solder and flux.
6. Check the new BM1370BC ASIC chip, confirming its pins are intact. Then tin it with the chip tin planting tool.
7. Place the tinned chip aligned with the solder pad of the hash board and then add an appropriate amount of flux.
8. Place the hash board on the heating platform for heating again, press the chip with tweezers, and make fine adjustments. When the tin completely wraps the chip pins while forming a bright and full solder joint, move the hash board to the insulating pad. Remove the tweezers after the tin solidifies.
9. Repeat step 5 to cool and clean the hash board.
III. Miner assembly and test
1. Use a multimeter to detect the ground value of the new chip signal to confirm that the new chip is well-soldered. Then use the Antminer fixture to test the status of the single board.
2. Align the heat sinks on the back of the hash board with the hole position and fix them with screws; then evenly apply thermal conductive silicone grease on the surface of the just replaced BM1370BC ASIC chip, and then install the front heat sinks.
3. Insert the hash board vertically into the miner case, tighten the fixing screws of the conductive copper sheets, connect the corresponding cables, then fix the fan baffle and the outlet cooling fans. Finally, tighten the fixing screws of the protective cover plate above the control board.
4. Power on the miner to view the operating data of the hash board through its background log, confirming whether the hash rate has returned to normal.
The BM1370BC ASIC chip provides an efficient and economical solution to the hash rate problem of the Antminer S21Pro, helping miners obtain stable income on the road of cryptocurrency mining.