


FNIRSI-S1 is a handheld large-screen digital display smart multimeter. It is an intelligent and anti-burn multimeter that does not require shifting gears. It will not burn out even if the gear is adjusted to the wrong gear during measurement. It can be used for rapidly measuring the data of electronic components such as ASIC miner hash boards and power supplies, it can also be used during maintenance. This article will introduce the uses and usage methods of this multimeter to help us better understand how to utilize it for measurement.
I. Preparation work and introduction of digital multimeter:
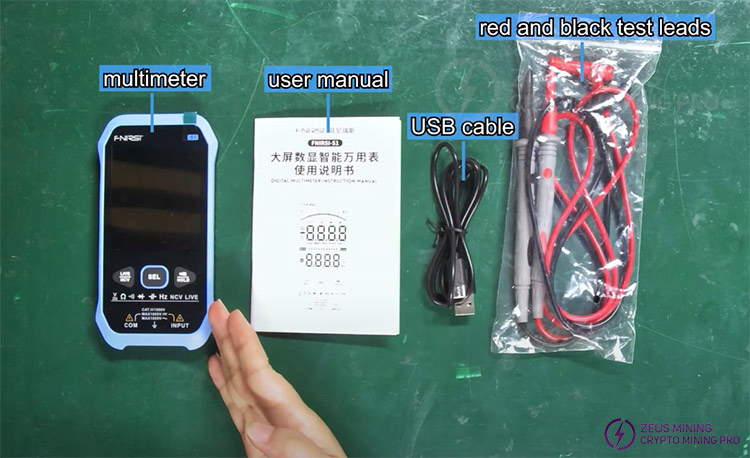
1. Prepare the necessary tools and accessories, including large-screen digital display intelligent multimeter, user manual, USB cable, and then red and black test leads.
2. Introduction to the function keys and interfaces of the multimeter:
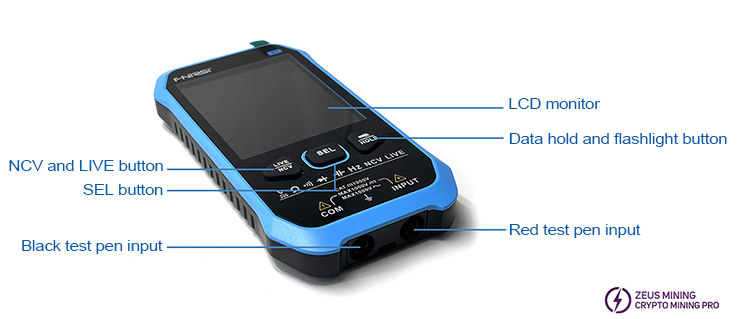
Figure 1 respectively has: NCV and LIVE button, SEL button, black test pen input, red test pen input, data hold and flashlight button, and ultra-large screen VA high-definition display screen.
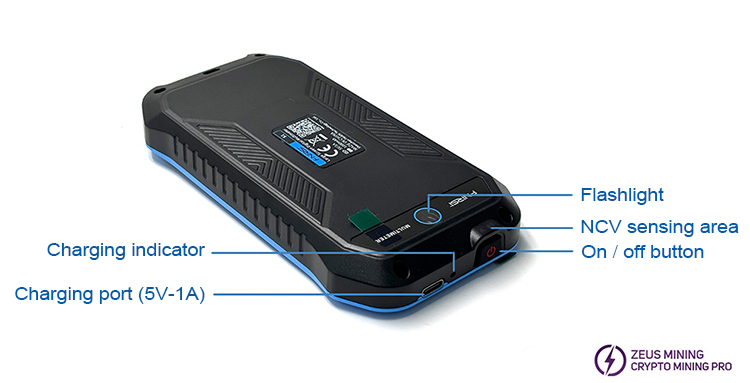
Figure 2 respectively has: charging indicator light, 5V USB charging port, on/off button, NCV sensing area, flashlight.
(Figure 1)
(Figure 2)
Note:
a. The "LIVE" button among them can be used to determine the neutral wire and live wire; "NCV" is the voltage detection function.
b. The "SEL" in the middle is the function switch button, which can adjust different gears for different measurement functions.
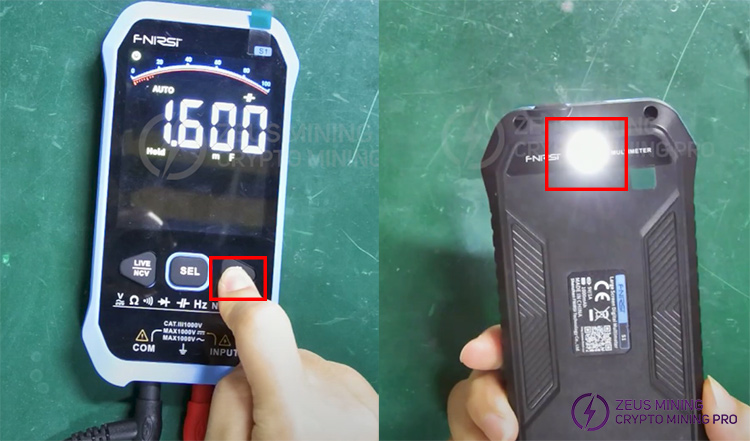
c. The "HOLD" button on the right is for data hold, and pressing and holding it can switch to flashlight mode.
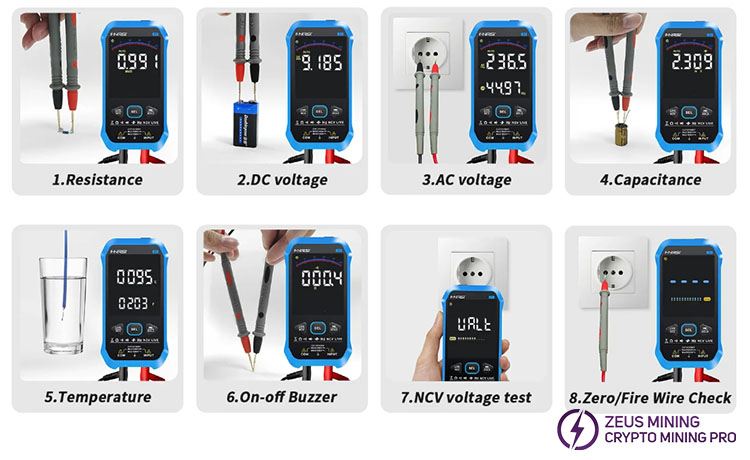
3. It can be used for measurements of various purposes, such as measuring resistance, DC voltage, AC voltage, capacitance, temperature, NCV voltage test, and neutral wire/live wire check.
II. Uses and usage steps of FNIRSI-S1 intelligent digital multimeter:
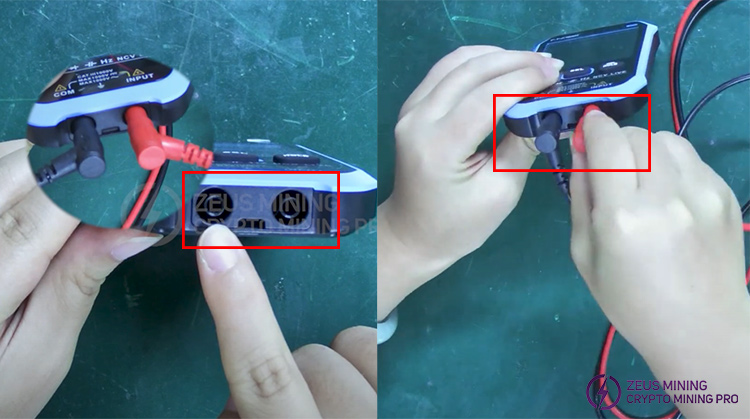
1. There are two jacks at the bottom of the multimeter. Before using it, insert the black test lead on the left and the red test lead on the right.
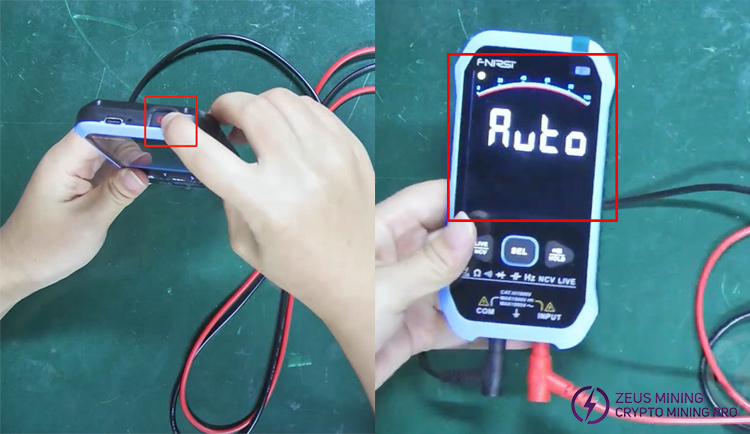
2. Press the switch button to start the multimeter. After it is turned on, it is in the automatic gear and can be directly used to measure AC voltage.
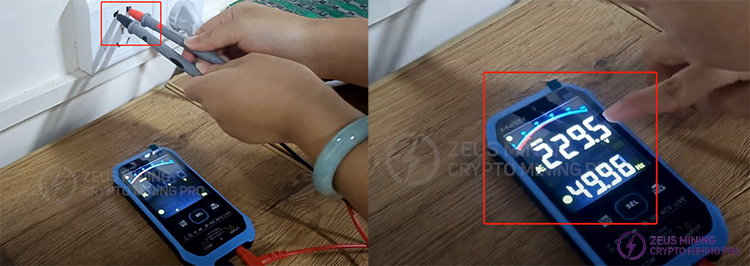
3. Insert the red and black test leads into the socket, then we can see the voltage and frequency displayed on the screen.
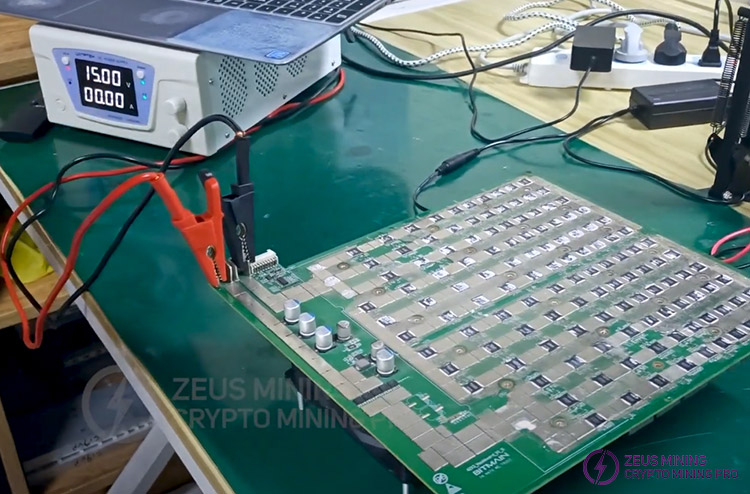
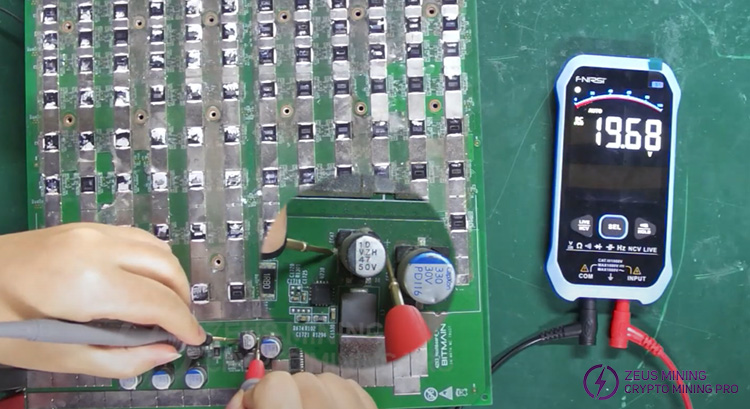
4. How do we use the multimeter to measure the DC voltage of the hash board? First, connect the DC power supply to the hash board. Pay attention to not reversing the positive and negative poles when connecting.
5. Place the probes of the red and black test leads at both ends of the capacitor, and we can see that the output voltage of this boost circuit is approximately 20V.
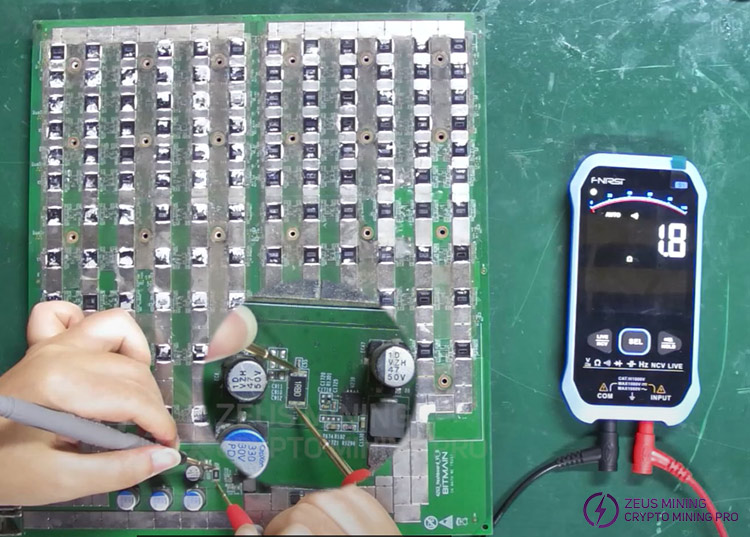
6. It can also measure resistance. If it buzzes, it indicates that the resistance is good. As shown in the figure below, the resistance value displayed on the screen is 1.8Ω.
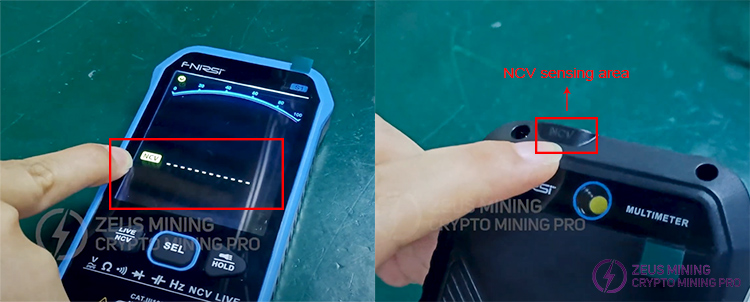
7. We press the left button to adjust the gear, and "ncv" appears on the screen, indicating that this multimeter has an ncv detection point, which can be used to sense voltage.
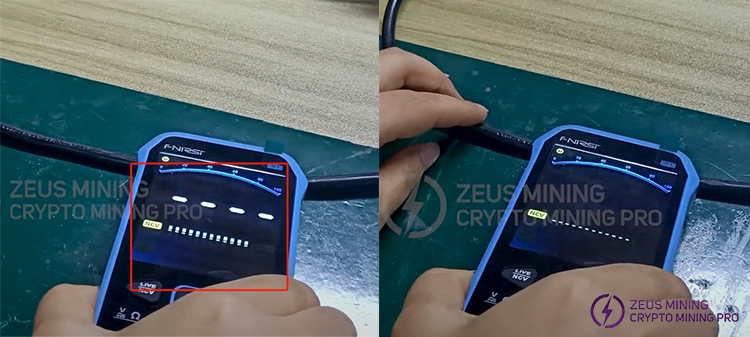
8. Place the ncv detection point above the power cord and move along the cable. If a continuous beeping sound is heard, it indicates that the power cord is good. Conversely, if there is no beeping sound, the power cord may be broken.
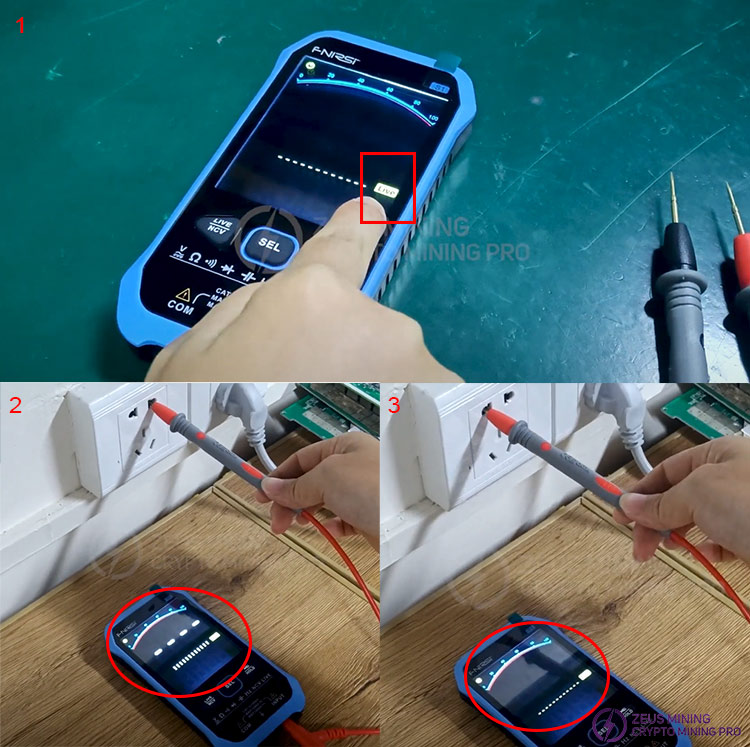
9. Press the left button again, and "live" will be displayed on the right side of the screen. At this time, the live wire and neutral wire can be tested. We only need to insert the red test probe into the socket. When we hear the beeping sound, it indicates that this hole is the live wire. The other hole does not make a sound, indicating that it is the neutral wire.
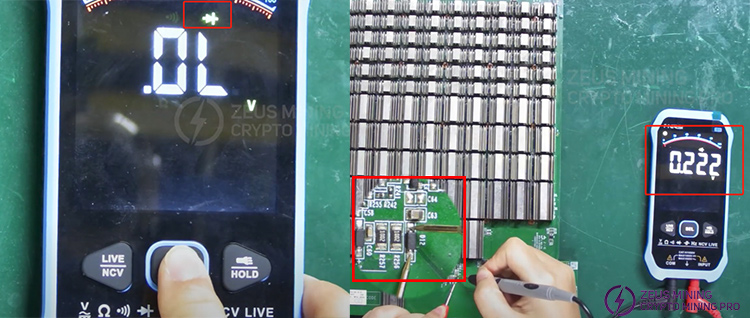
10. The "SEL" button mentioned above in the middle is the function button that can switch the measurement gear. We can continue to switch. Now it has switched to the diode test gear. Let's measure diode D12, and we can see that its resistance value is displayed as 0.222v.
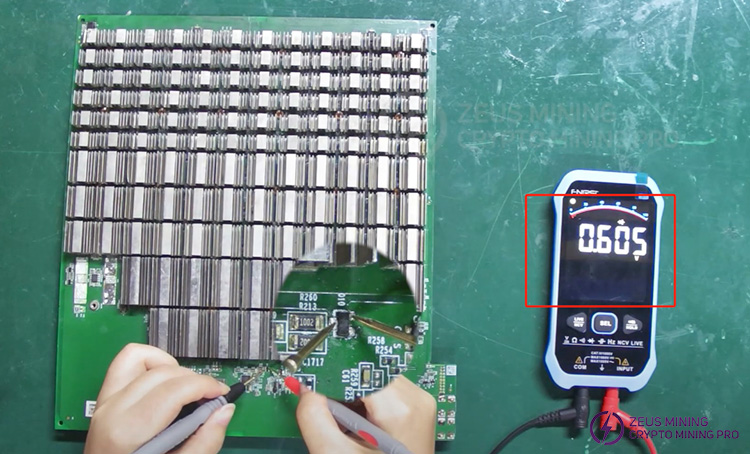
11. Continue to measure D10. D10 is an N-channel transistor. We can see the result displayed on the screen as 0.605v.
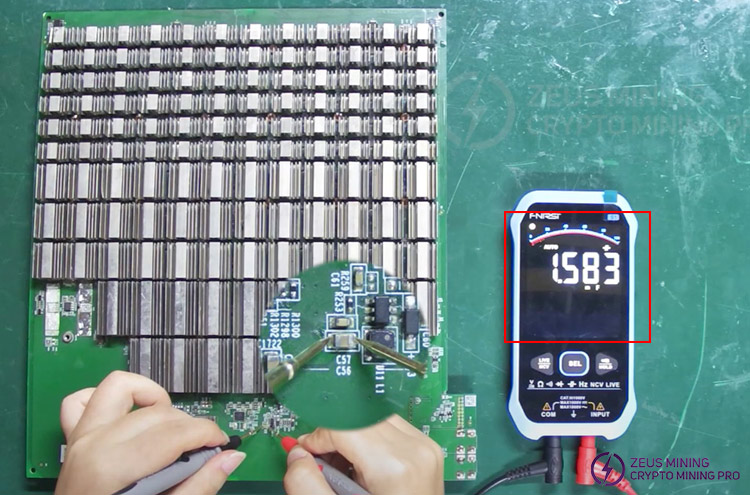
12. Press the "SEL" button again, and at this time it switches to capacitance measurement. Measure capacitor C56, and the capacity value will be displayed on the screen.
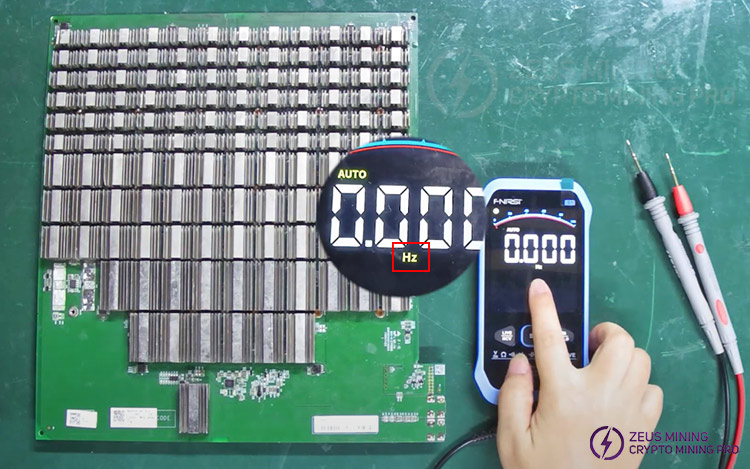
13. Continue to switch, and the displayed unit is HZ. This is the mode for testing frequency.
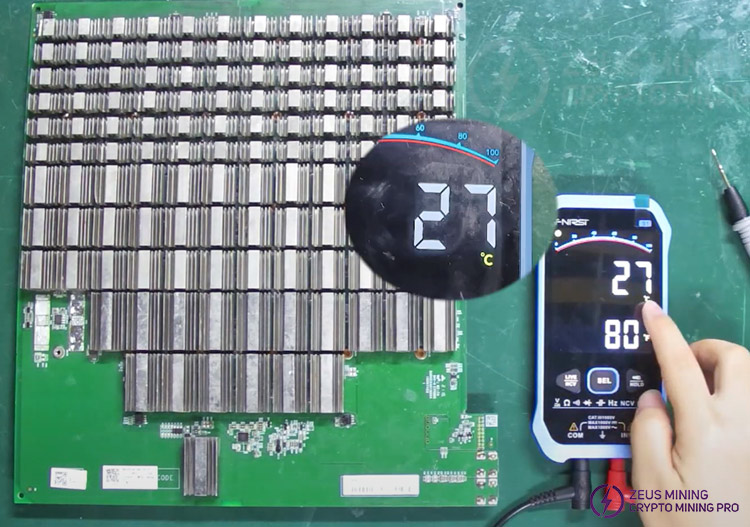
14. This is the mode for measuring temperature. The temperature displayed on the screen can be seen as 27°C.
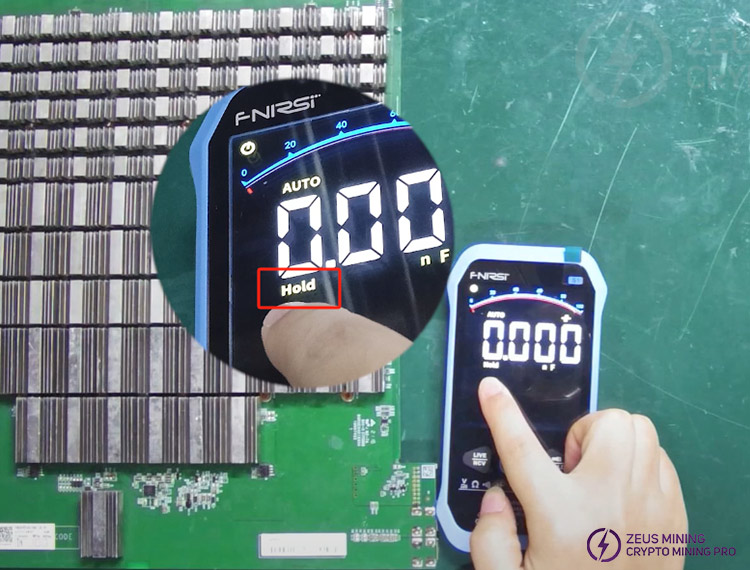
15. Press the right button, and "Hold" will appear here. It is the data hold function. When measuring components, the measurement results can be saved through this function.
16. Continue to take the measurement of the C56 capacitor as an example. When the measurement result is displayed, press the Hold button and remove the measurement probe. Don't worry about the data returning to zero when we release our hand. The measurement data will still be displayed on the multimeter screen, which is convenient for us to observe the measurement result.
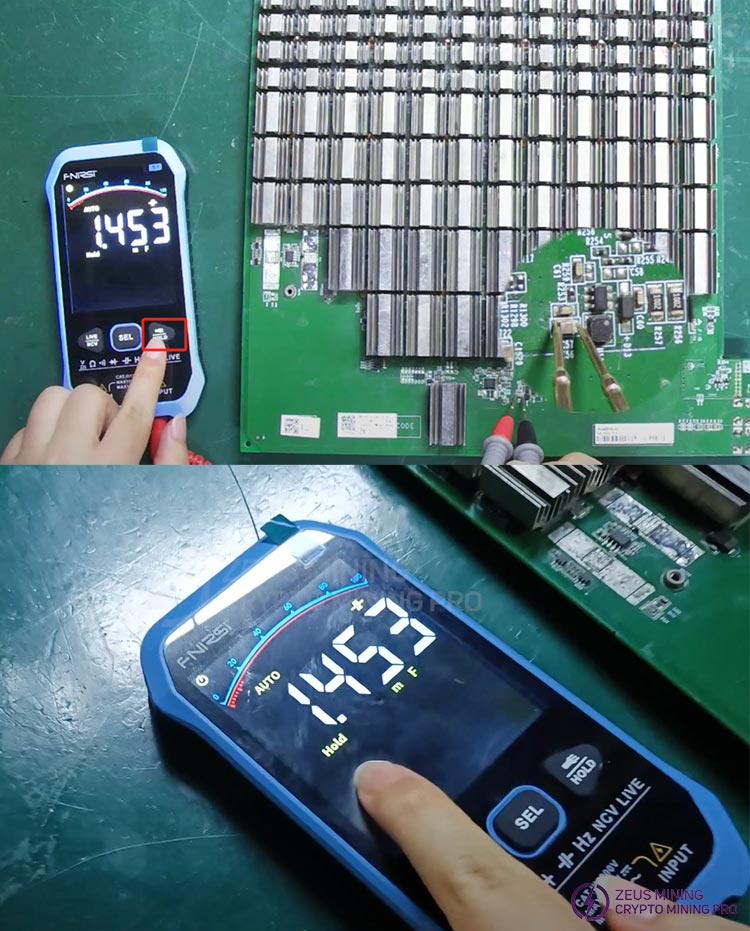
17. Long-press the right button, and the flashlight function can also be turned on. It is convenient for working in an environment with insufficient light or in a dark and dim environment, which makes our measurement more convenient.
The above are the usage methods of measuring the FNIRSI-S1 digital multimeter. This multi-functional and multi-purpose multimeter is very convenient for us to use during detection. It is small and portable. Whether it is a professional miner maintenance personnel, a maintenance enthusiast or a beginner, it is an ideal multi-functional tester.