


The Antminer test fixture is mainly used to test the faulty chip of the hash board. It scans the open and short circuit, resistance, capacitor, inductor, diode, triode, transistor, IC and other components of the entire hash board by sending a baud rate signal.
Different models of Antminers correspond to different Antminer test fixtures.
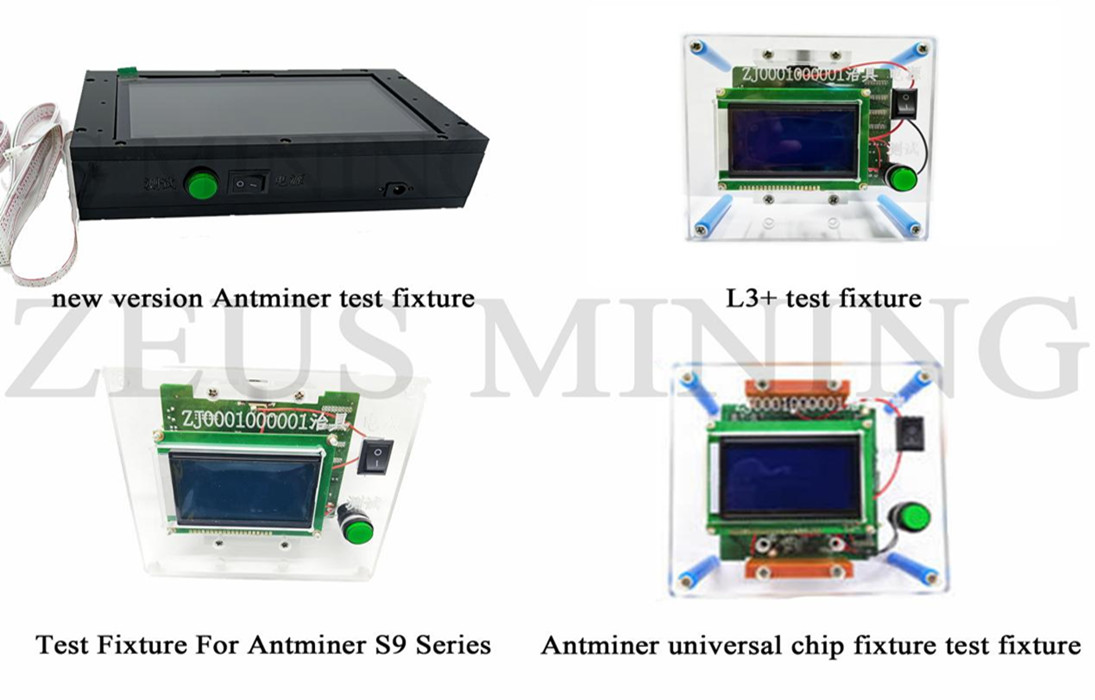
The Antminer chip test fixture accurately locates the hash board chip to find faults such as solder short circuit, component insertion wrong, reverse insertion, missing installation, pin lift, virtual welding, PCB short circuit, disconnection and other faults. The tested faults are directly located on specific components and pins, and the fault location is accurate. In addition, the test fixture adopts program-controlled automated testing, which is easy to operate and fast to test. The test time of a single hash board is generally from a few seconds to tens of seconds, and the scanning results can be directly displayed on the page, avoiding the possibility of manual input errors.
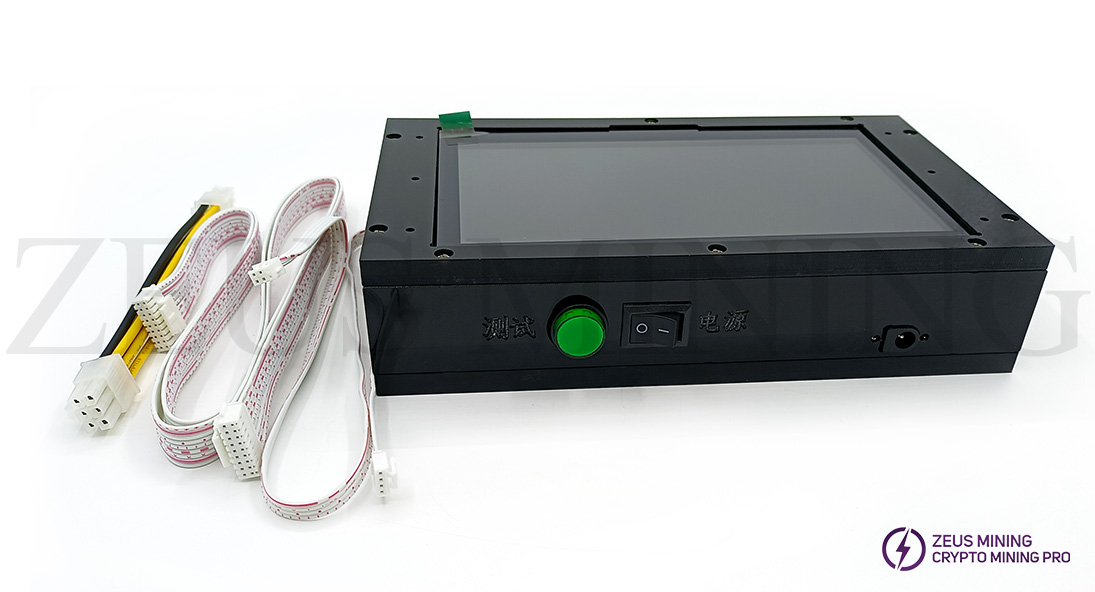
What are the working principles of the Antminer test fixture?
The Antminer test fixture detects faulty chips by sequentially scanning the hash board with an analog signal. When a damaged chip is encountered, the signal stops automatically, and the test fixture records the position and provides feedback. We can intuitively know which chip has failed through the page by reporting the chip serial number at that location to the visual screen port.
How does the Antminer hash board work?
The control board sends calculation commands and formulas through the TX (CO) signal to the hash board. The hash board transmits the calculation results to the control board through RX (RI), then the control board stores the results into its account through the network.
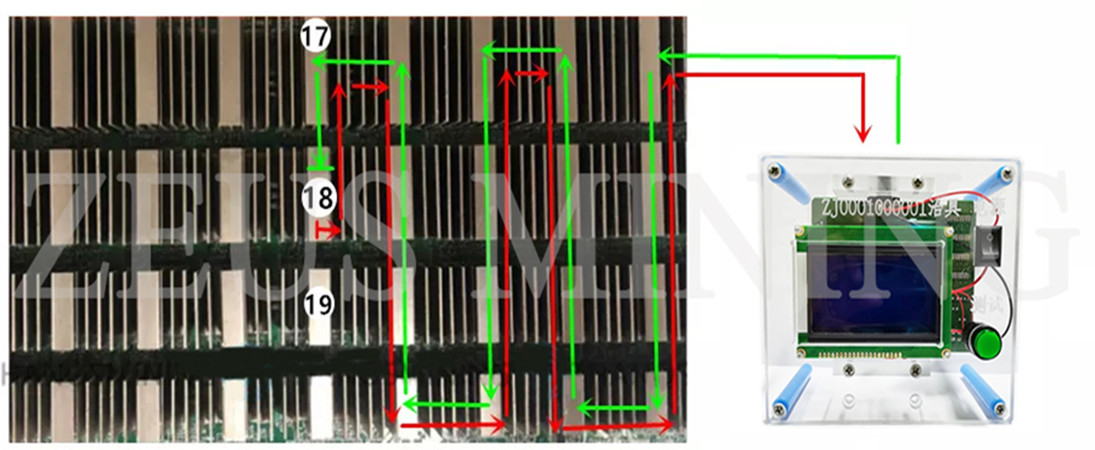
The hash board consists of multiple ASIC chips connected in series; each chip has five test points, namely CLK, RST, BO, CO and RI.
The four groups of "CLK, RST, BO, CO" signals are sent from the first chip to the second chip until they are transmitted to the last chip, in order: "1-2-3-4-5-6...."
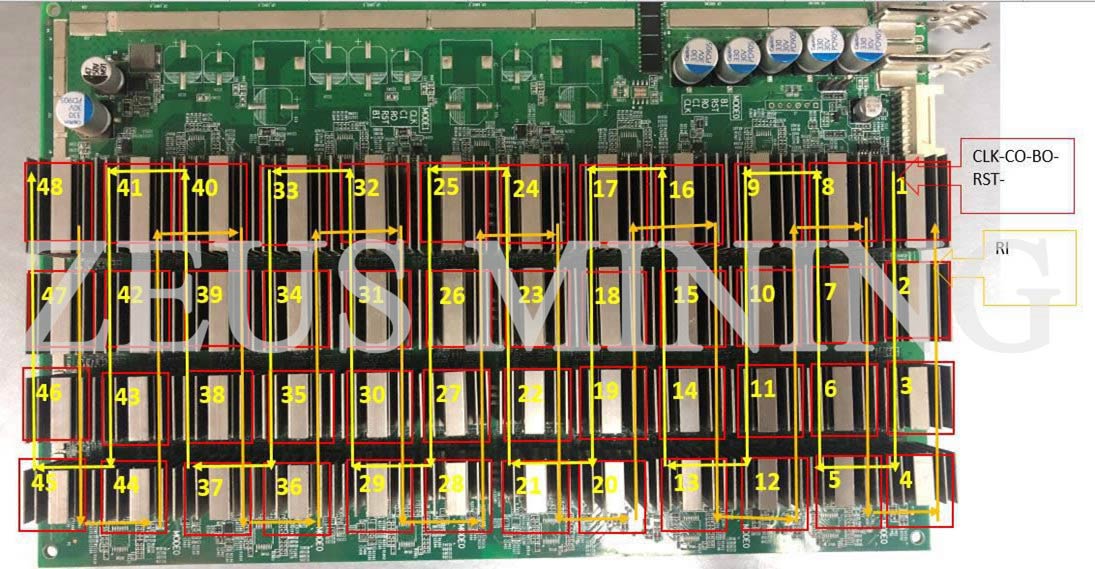
S17 hash board signal direction
The RI signal is returned from the last ASIC chip to the first chip, such as "....6-5-4-3-2-1", and finally transmitted to the control board by chip 1. The signal will be lost here if one of the asic chip damaged, and the hash board will have the following anomalies: no hash board, 0 ASIC, missing chain...
How to measure Antminer hash board?
Next we will use the Antminer test fixture to test the Antminer L3+ hash board.
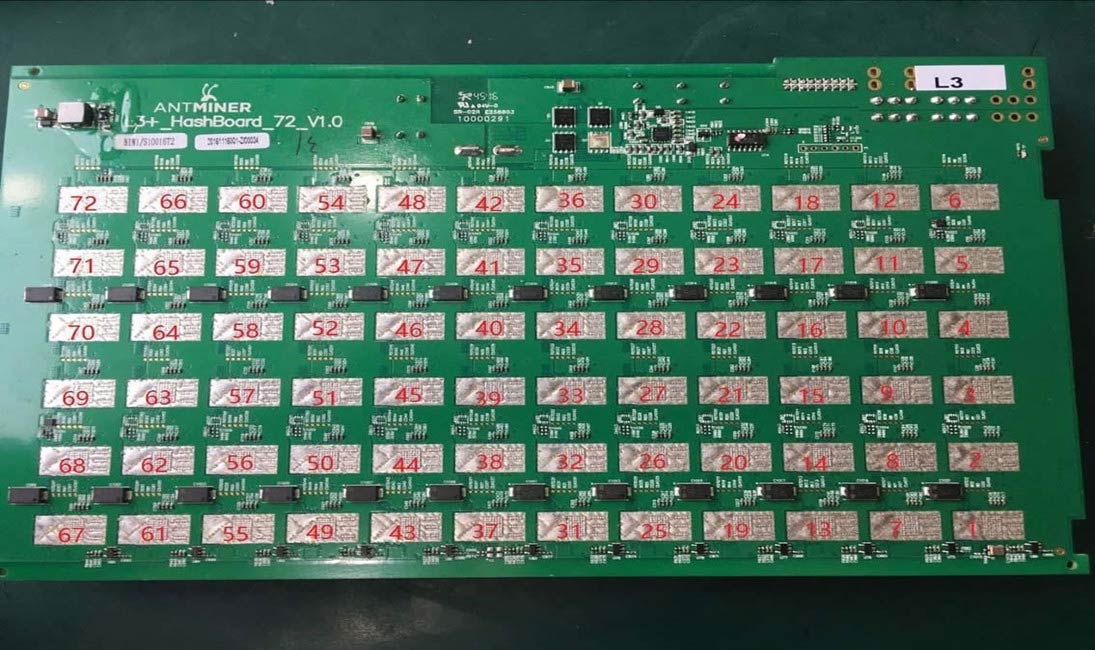
1. First make sure the working environment is normal.
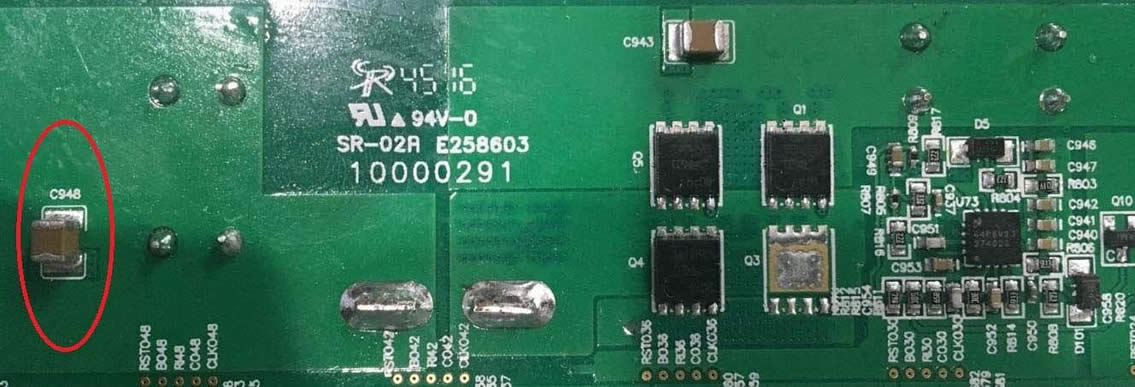
① Measure whether there is 12V voltage at both ends of the C943 capacitor, if not, check whether the power socket is not plugged in properly.
② Measure whether there is 10.4V voltage at both ends of the C948 capacitor. If not, please check whether the PIC chip is normal in the test result of the test fixture. If it is normal, then the power management module and the three MOS tubes may be faulty, causing the C948 capacitor to have no 10.4V voltage, and the power management module and the three MOS tubes need to be replaced.
③ Measure whether there is 14V voltage at both ends of the C1072 capacitor, if not, please replace the booster chip directly.
2. If the above voltages are normal, but the test result of the test fixture shows 0 ASIC, you need to check the RI voltage from chip 72 until the chip with no voltage is detected and replace the chip.
3. The test result of the Antminer test fixture shows that the number of chips is not 0, but there are also no 72 chips.
This will appear as a missing chip. For example, the test fixture results show that there are only 48 chips. First, you need to short-circuit the CO output from the 46th chip, and then use the Antminer test fixture to test. If there is no No. 47 chip, please check the ground resistance value of No. 48 chip and compare it with the resistance value of the previous normal chip. If it is abnormal, it proves that No. 48 chip is damaged. If it is normal, turn on the power again and test the front and behind voltages of the No. 48 chip. If the front of voltage is abnormal, test the No. 47 chip. If the behind voltage is abnormal, test the No. 49 chip. The troubleshooting methods for other display chip counts are the same.
4. When the Antminer test fixture detects all chips, it means that the repair of the hash board is completed.
Click to see more about how to use the Antminer chip test fixture